Exploring the world of acrylic channel letters
In the ever-evolving landscape of business signage, one radiant solution has been rewriting the rules and capturing the spotlight – acrylic channel letters.
This article dives into the world of acrylic channel letters and answers the pressing questions of entrepreneurs and sign enthusiasts alike.
From customization to installation, durability to design trends, join us on a journey where every letter becomes a luminous element of brand identity.
What are acrylic channel letters?

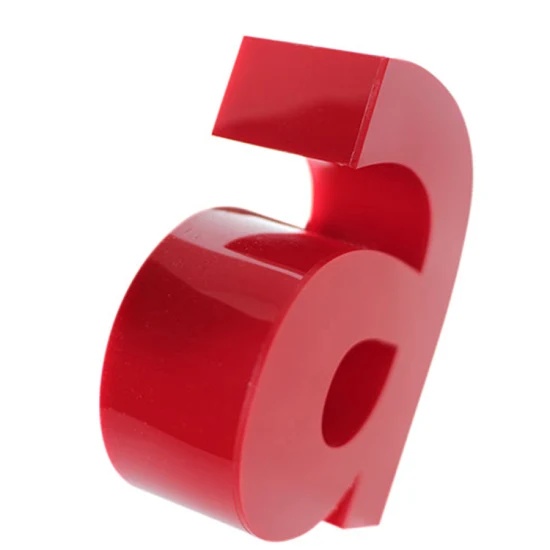
Image source: tuppsigns.com
In simple terms, acrylic channel letters are three-dimensional signage elements commonly used for business displays and branding. These letters, crafted from acrylic material, form a prominent part of the signage industry.
Acrylic channel letters consist of individual letters, logos, or shapes designed using acrylic, a durable and versatile material. These letters are typically illuminated, enhancing visibility and making them stand out, especially in low-light conditions.
Over time, using acrylic channel letters in signage has evolved significantly. Basic, non-illuminated designs have transformed into dynamic, eye-catching displays.
The evolution is marked by design and lighting technology innovations, contributing to their widespread adoption in various business contexts.
Benefits of acrylic channel letters
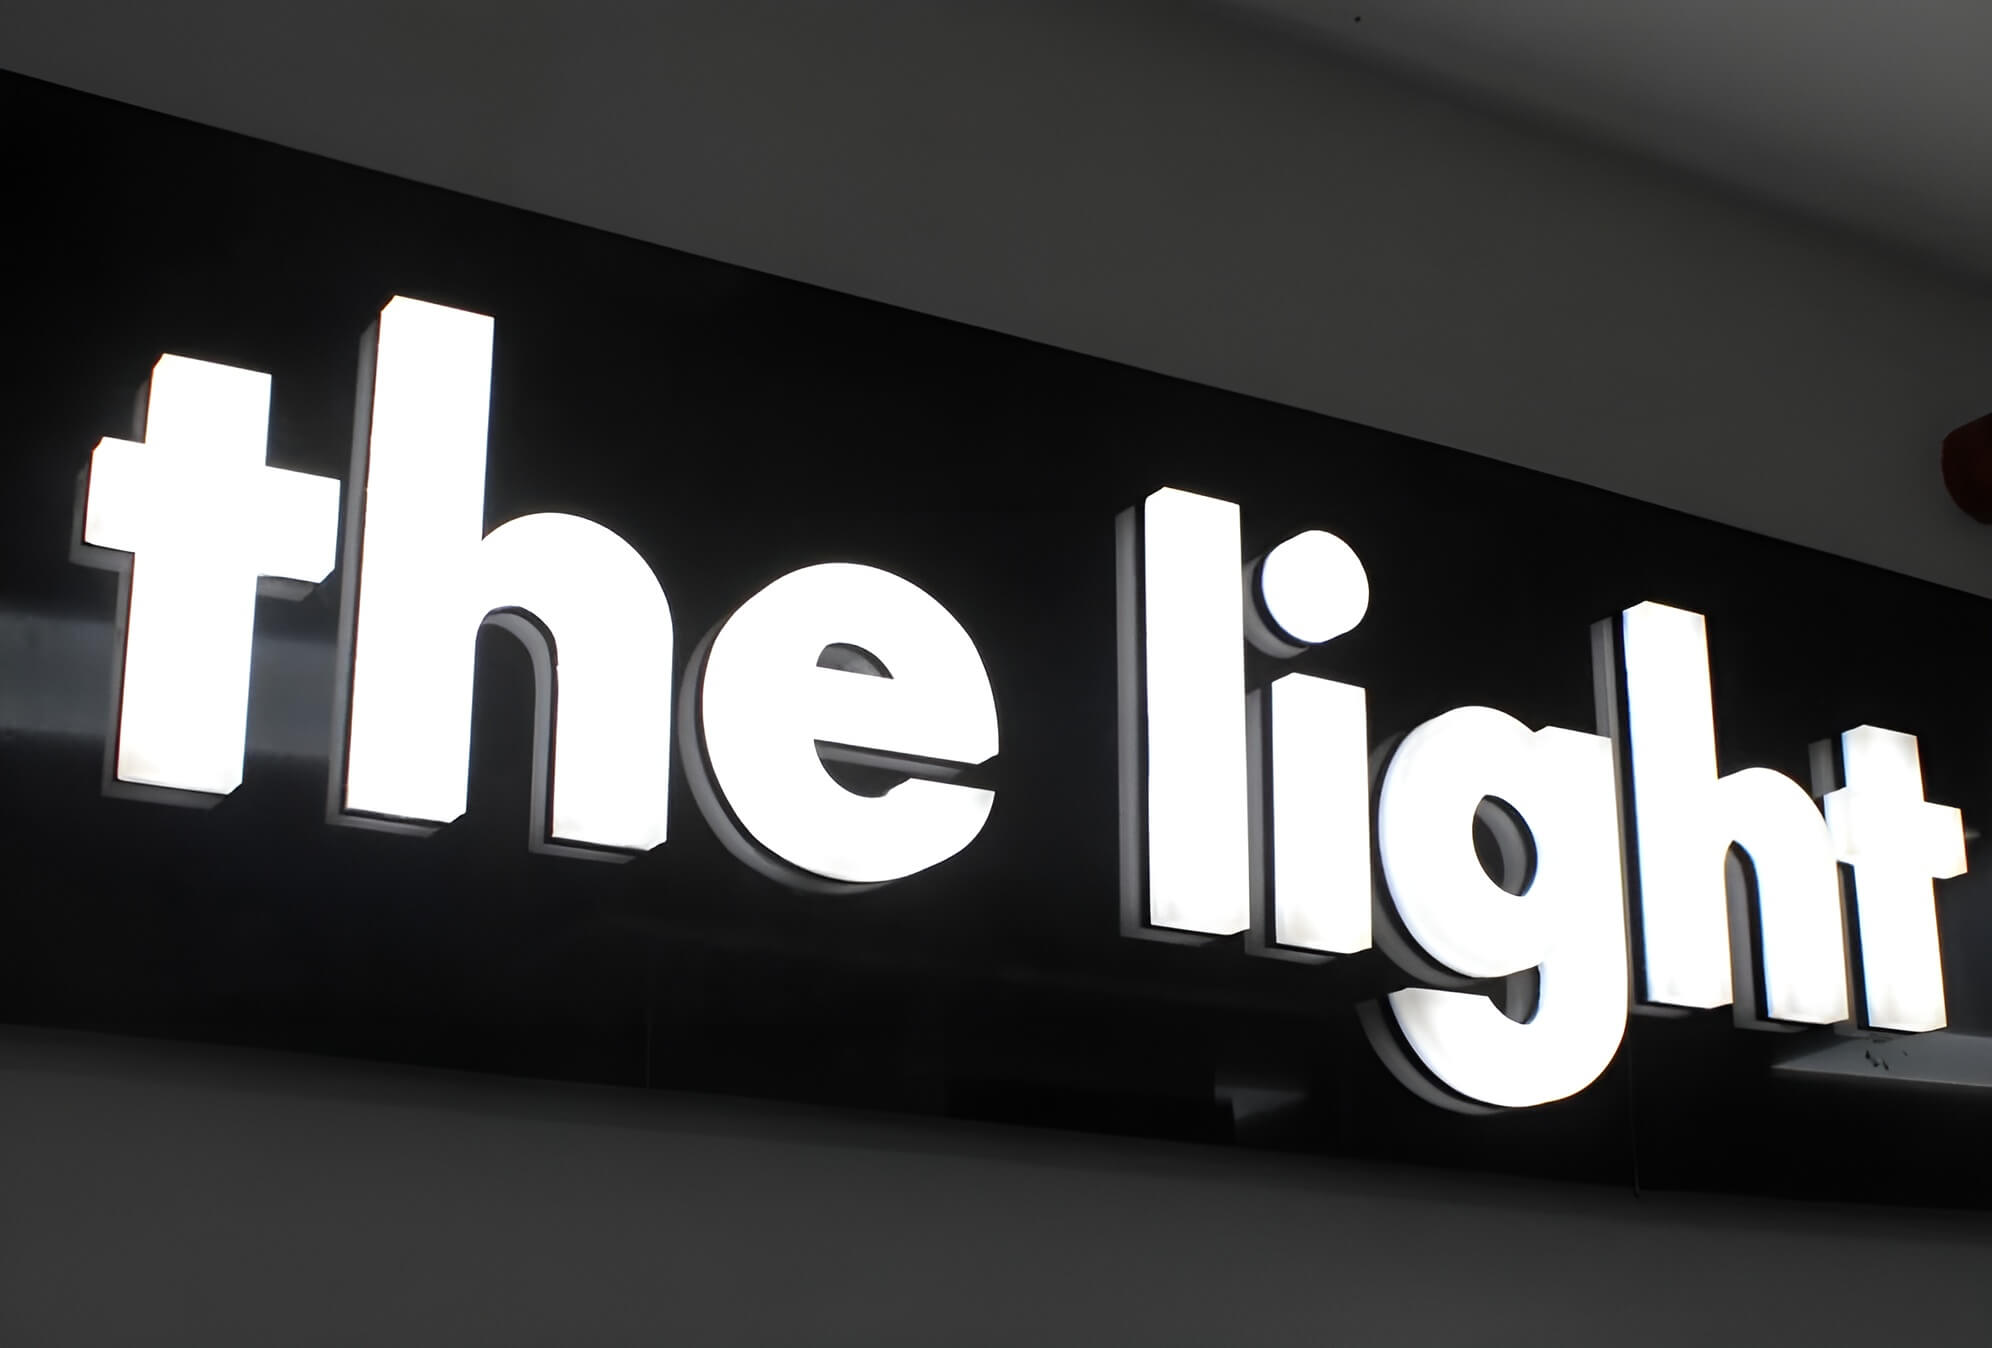
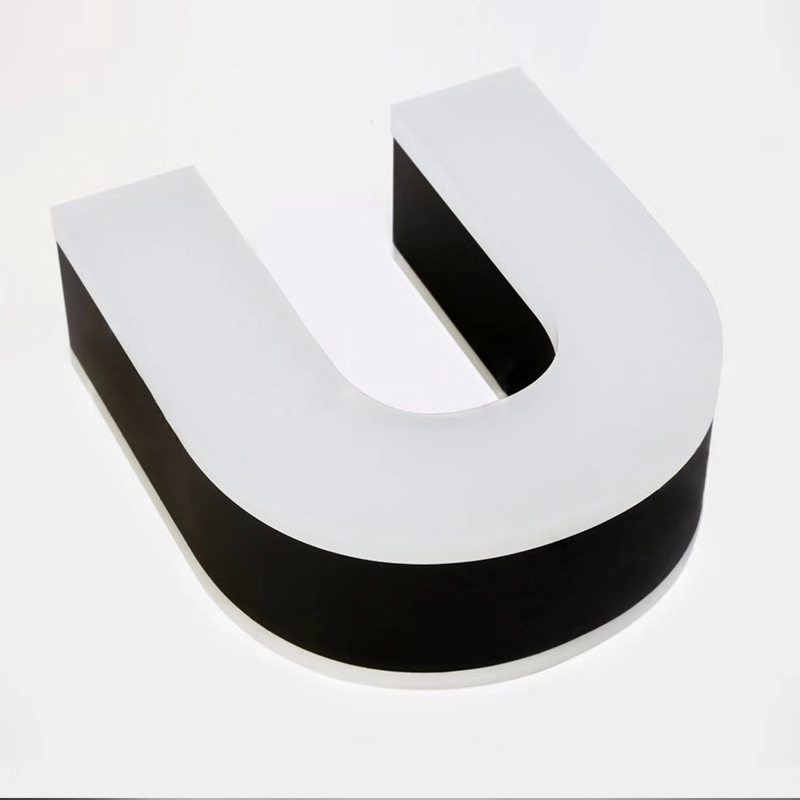
Image source: thelightlab.com
Acrylic channel letters offer a range of advantages, making them a preferred choice for acrylic letter sign enthusiasts and store owners alike.
1. Durability and weather resistance
Acrylic channel letters excel in durability, standing resilient against the elements. These letters withstand various weather conditions, ensuring a long-lasting signage solution for businesses.
2. Energy efficiency in illumination
One standout feature is their energy efficiency in illumination. Acrylic channel letters, especially with LED lights, provide brilliant and vibrant illumination while consuming minimal energy, resulting in business cost savings.
3. Versatility in application
The versatility of acrylic channel letters extends to their application in diverse settings. Whether adorning commercial spaces, enhancing brand visibility, or contributing to architectural aesthetics, these letters seamlessly adapt to different environments.
4. Cost-effectiveness
An additional appeal lies in the cost-effectiveness of acrylic channel letters. These letters prove to be a financially prudent investment for businesses seeking impactful and budget-friendly signage solutions.
The average price range for acrylic channel letters:
- General range: The typical price range for acrylic channel letter signs sits between $2,000 and $20,000 (or even more for complex projects).
- Industry standard: For basic setups, the industry-standard cost often falls within $4,000 to $6,000.
Comparisons with other signage types
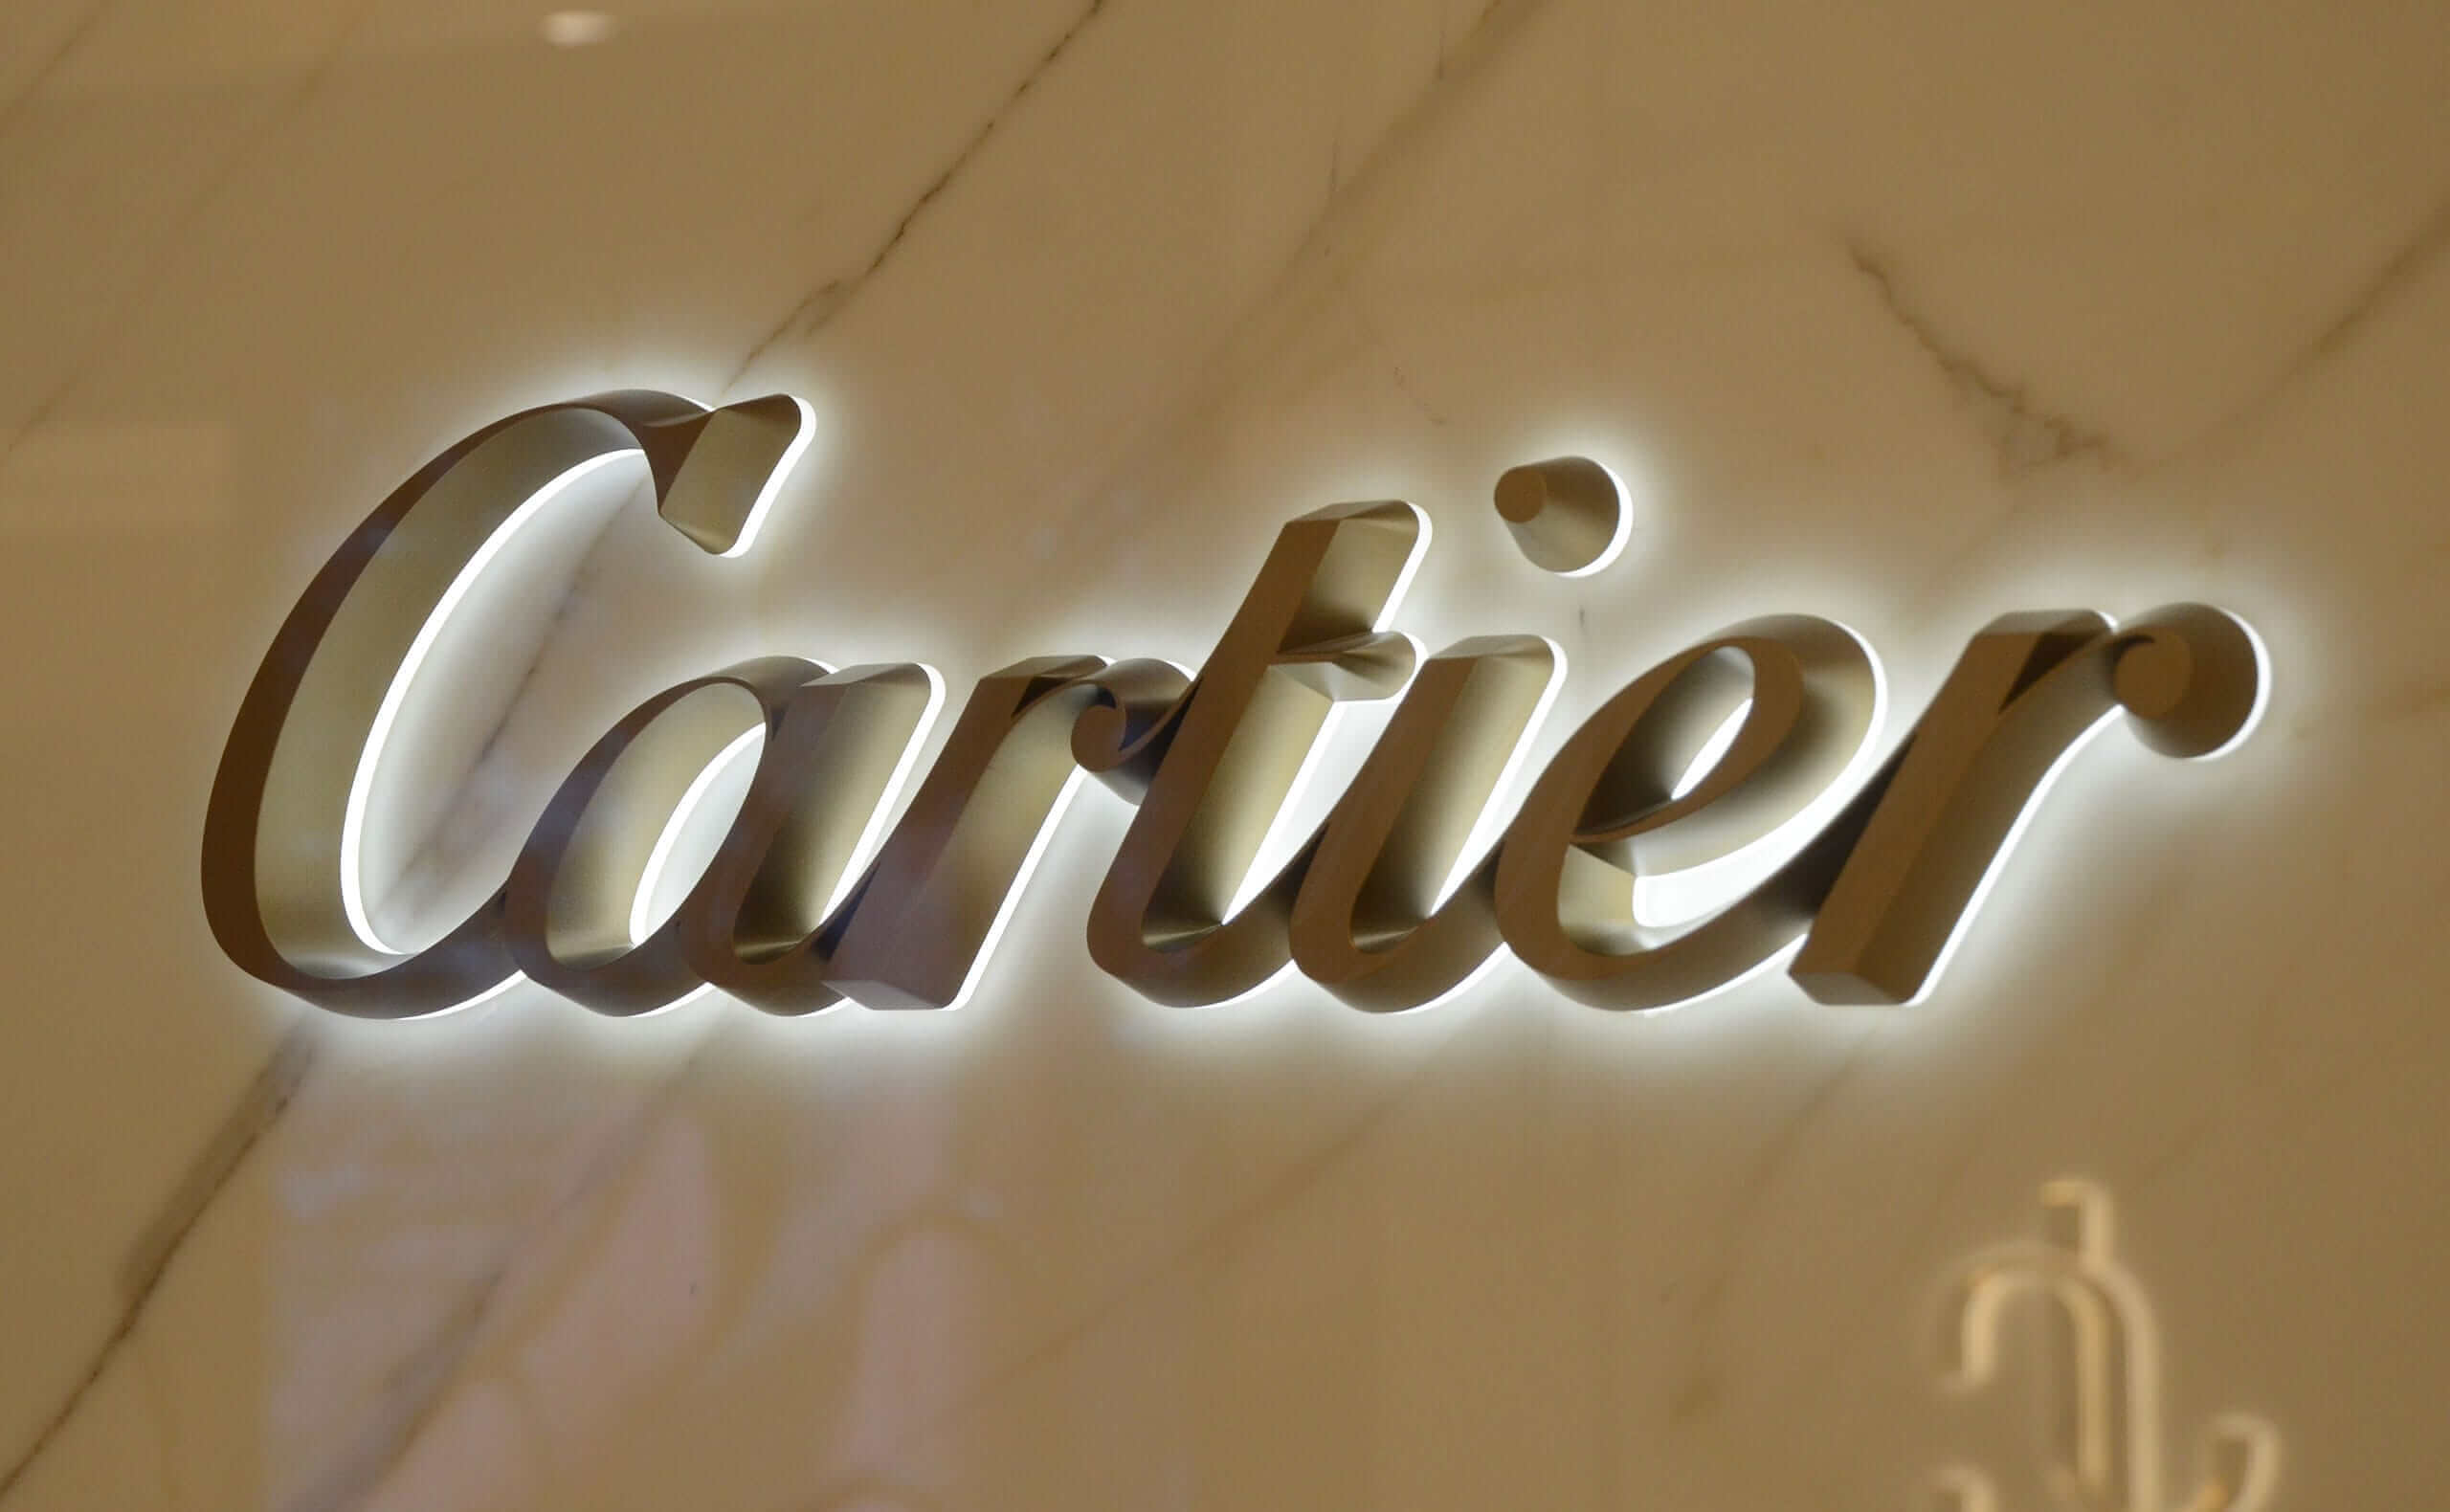
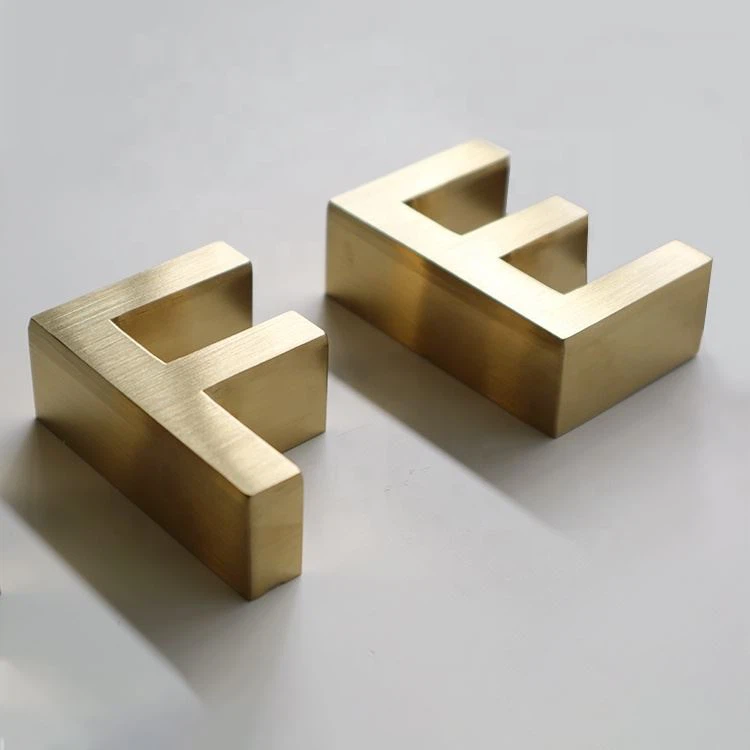
Image source: businesssign.com
When evaluating signage options, acrylic channel letters emerge as a distinct choice, offering unique advantages over other common signage types.
1. Neon signs
Once a popular choice, Neon signs have faced challenges compared to acrylic channel letters. While neon signs provide a classic, vibrant glow, they often require more maintenance, are less energy-efficient, and may pose environmental concerns due to the use of gasses.
2. LED signs
In modern signage, LED signs present a formidable competitor to acrylic channel letters. However, acrylic letters hold their ground by combining durability with versatility.
Acrylic channel letters are often preferred for their ability to showcase intricate designs, whereas LED signs may face limitations in achieving such detailed aesthetics.
3. Wooden signs
Wooden signs, known for their rustic charm, contrast the contemporary appeal of acrylic channel letters. While wooden signs evoke a traditional ambiance, they may need more visibility and durability than acrylic channel letters inherently possess.
Additionally, acrylic’s versatility allows for a broader range of design possibilities, making it a preferred choice for businesses aiming for a more modern and dynamic visual presence.
Applications in signage
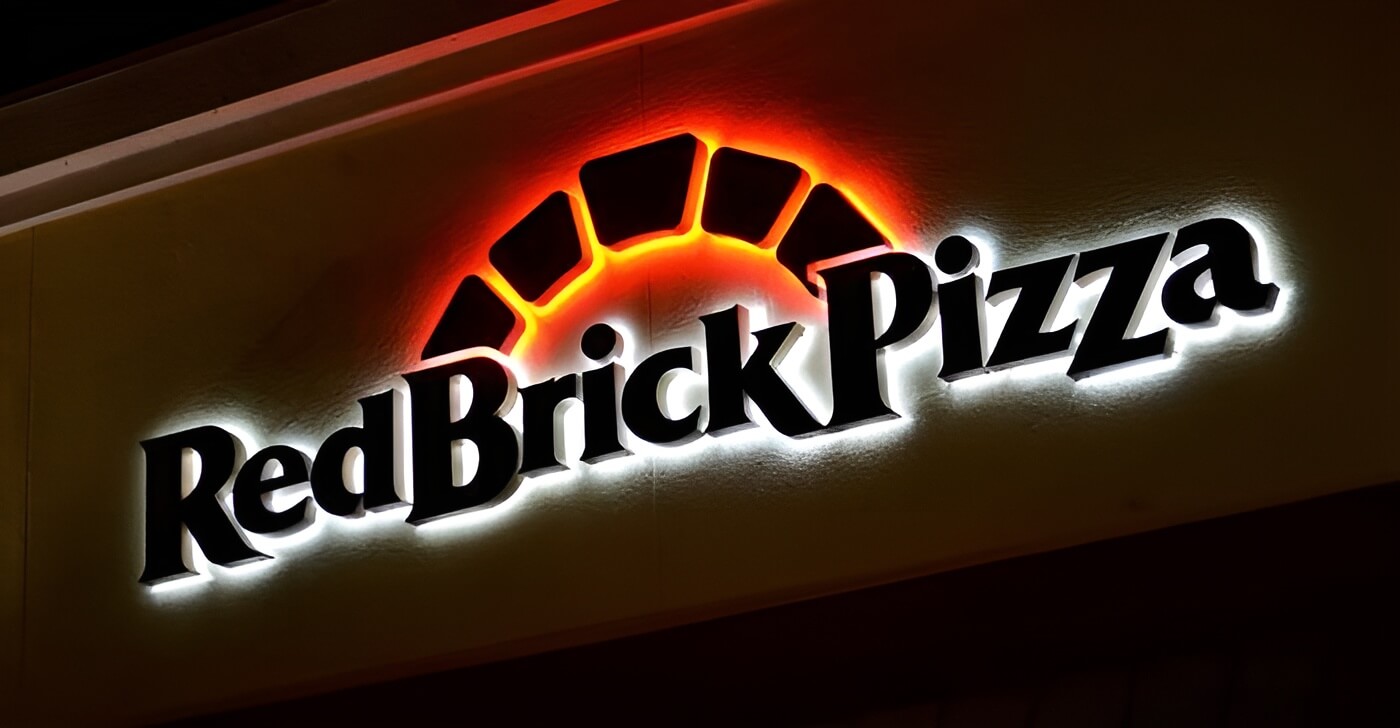
Image source: davessigns.com
Acrylic channel letters find diverse applications in signage, contributing significantly to commercial spaces, branding initiatives, and architectural aesthetics.
Commercial signage
In commercial signage, acrylic channel letters emerge as dynamic and attention-grabbing solutions. Their versatility allows businesses to craft impactful exterior signage that draws the eye, establishing a strong visual presence.
Whether adorning storefronts, promoting sales, or guiding customers, these letters are powerful tools for businesses to communicate effectively with their audience.
Branding for businesses
Regarding business branding, acrylic channel letters are pivotal in creating a distinctive and memorable identity. The customizable nature of these letters allows for incorporating brand colors, fonts, and logos, ensuring a cohesive and recognizable representation.
Whether displayed on storefronts or as part of an overall marketing strategy, acrylic channel letters contribute to brand visibility and recognition.
Architectural enhancement
Beyond traditional signage, acrylic channel letters contribute to architectural enhancement. These letters seamlessly integrate with the architectural design of buildings, adding a touch of sophistication and modernity.
Whether illuminating building names, creating unique entrances, or enhancing the overall aesthetics of structures, acrylic channel letters have become integral in merging functionality with architectural appeal.
Their ability to blend seamlessly into diverse architectural styles makes them a favored choice for designers and architects seeking both form and function.
Popular types of acrylic channel letters
Acrylic channel letters, renowned for their versatility, come in various types, each contributing a distinct aesthetic and functional appeal to signage.
1. Front-lit channel letters

Image source: frontsigns.com
Front-lit channel letters stand as the quintessential representation of traditional signage. With the letter face crafted from acrylic, these letters are illuminated from the front, often employing energy-efficient LED lights.
This classic design ensures clear visibility and readability, making it a time-tested choice for businesses seeking a timeless, straightforward signage solution.
2. Back-lit (halo-lit) channel letters
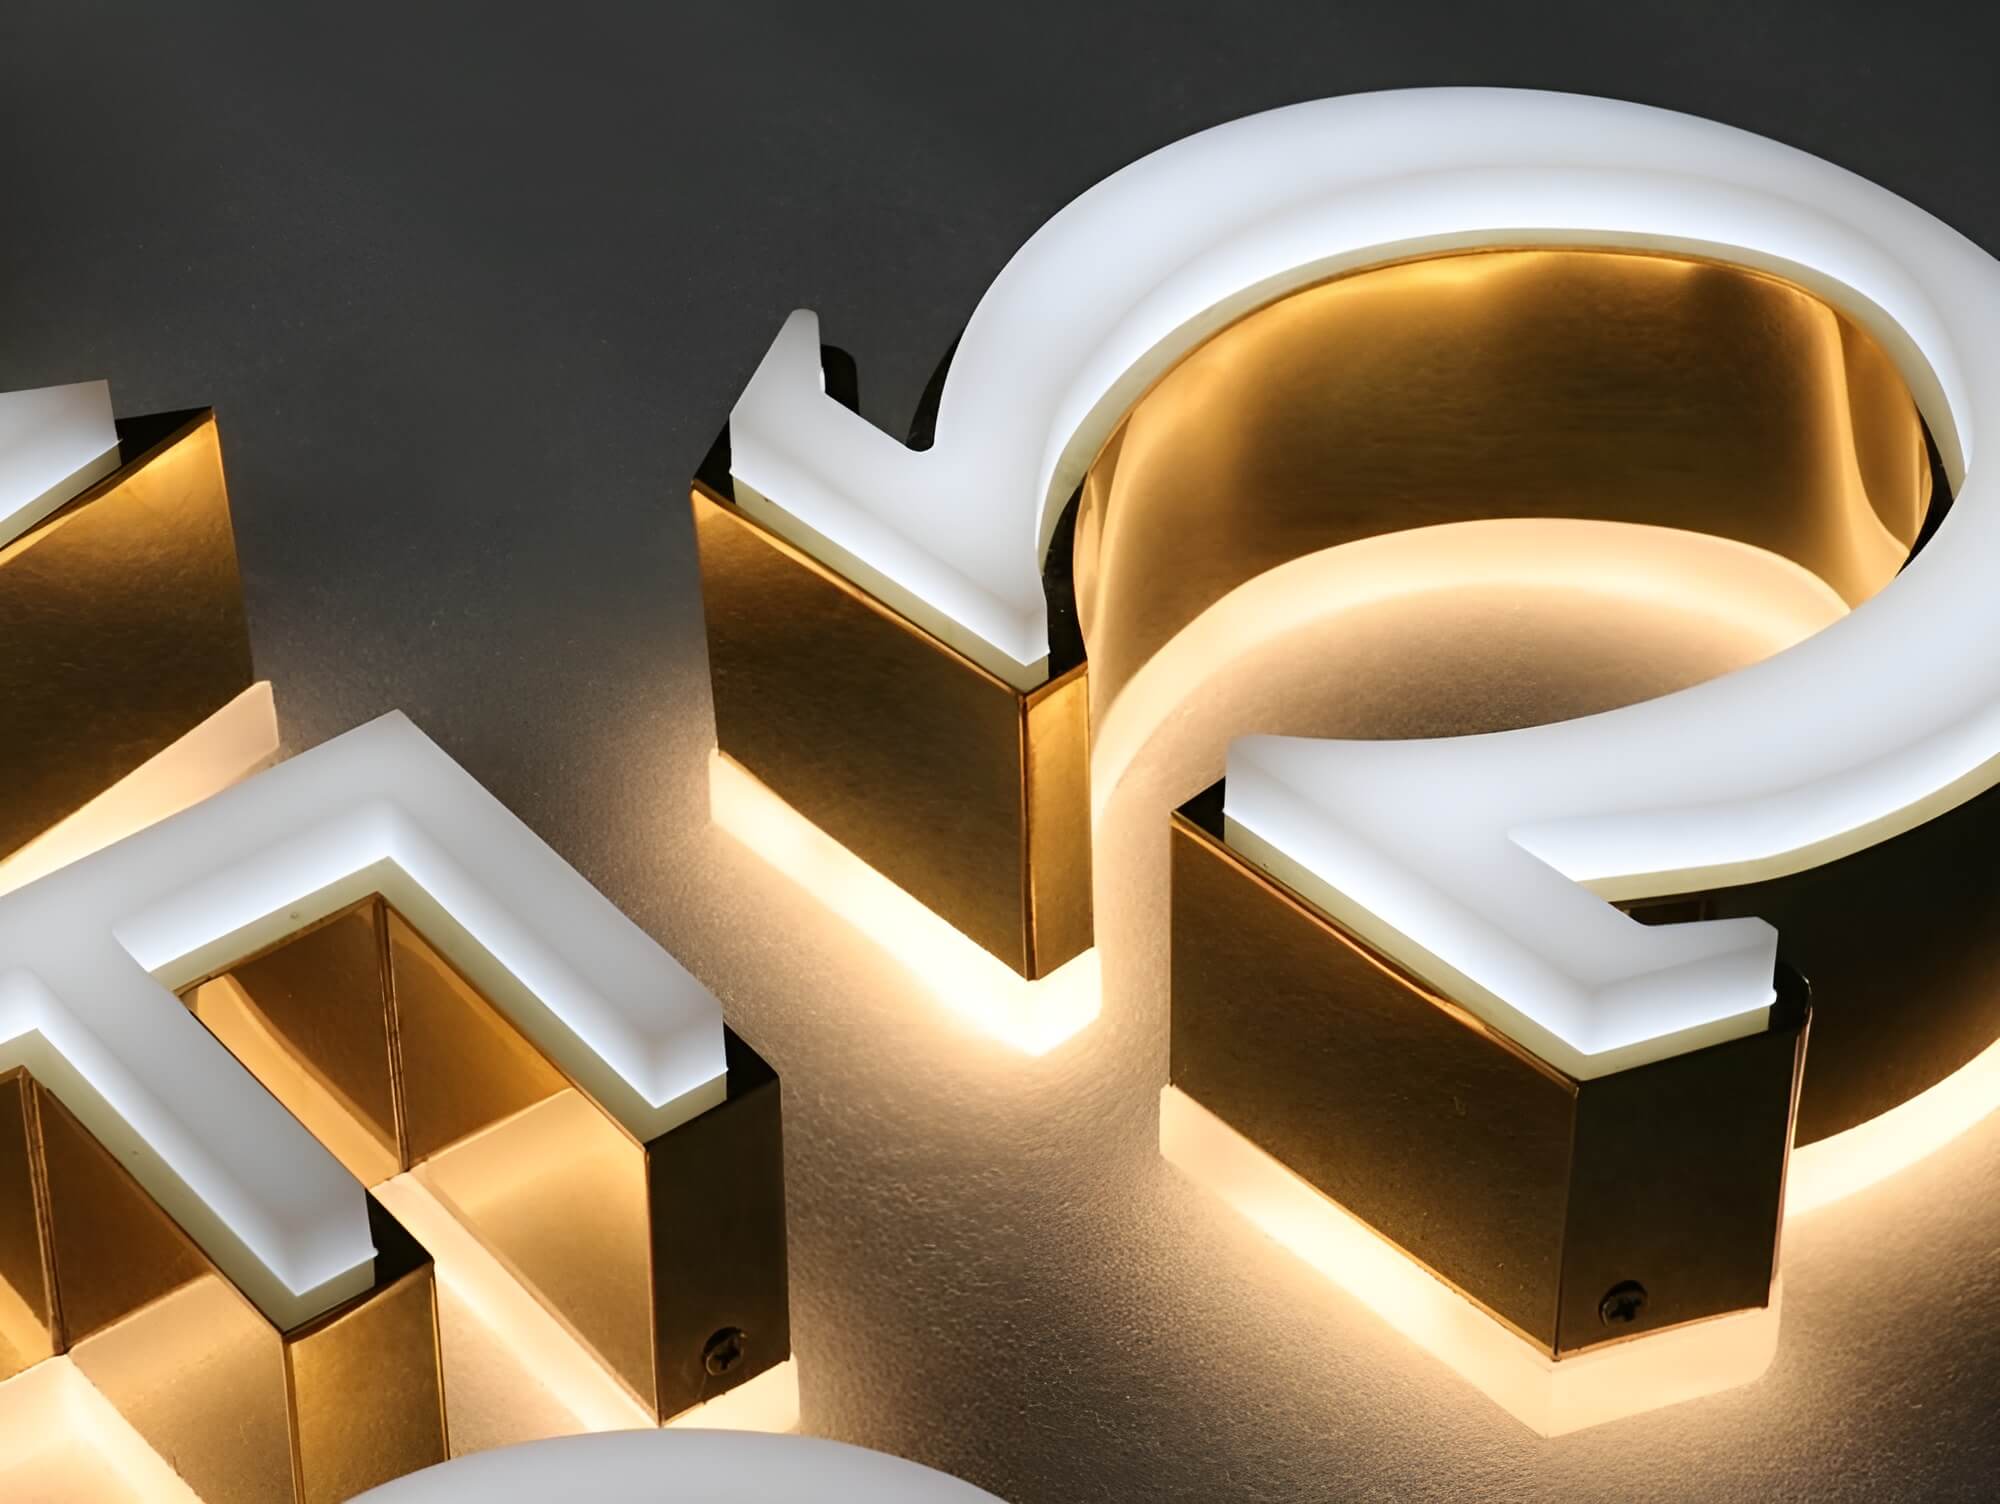
Image source: halolitsigns.com
The allure of back-lit channel letters lies in the captivating halo effect they create. Illumination emanates from the back of the letter, casting a subtle glow around the edges.
Typically featuring an opaque face, these letters skillfully utilize the spill of light behind them, adding an elegant and eye-catching dimension to the signage. This type is often favored for its ability to evoke a sense of sophistication.
3. Front and back-lit channel letters
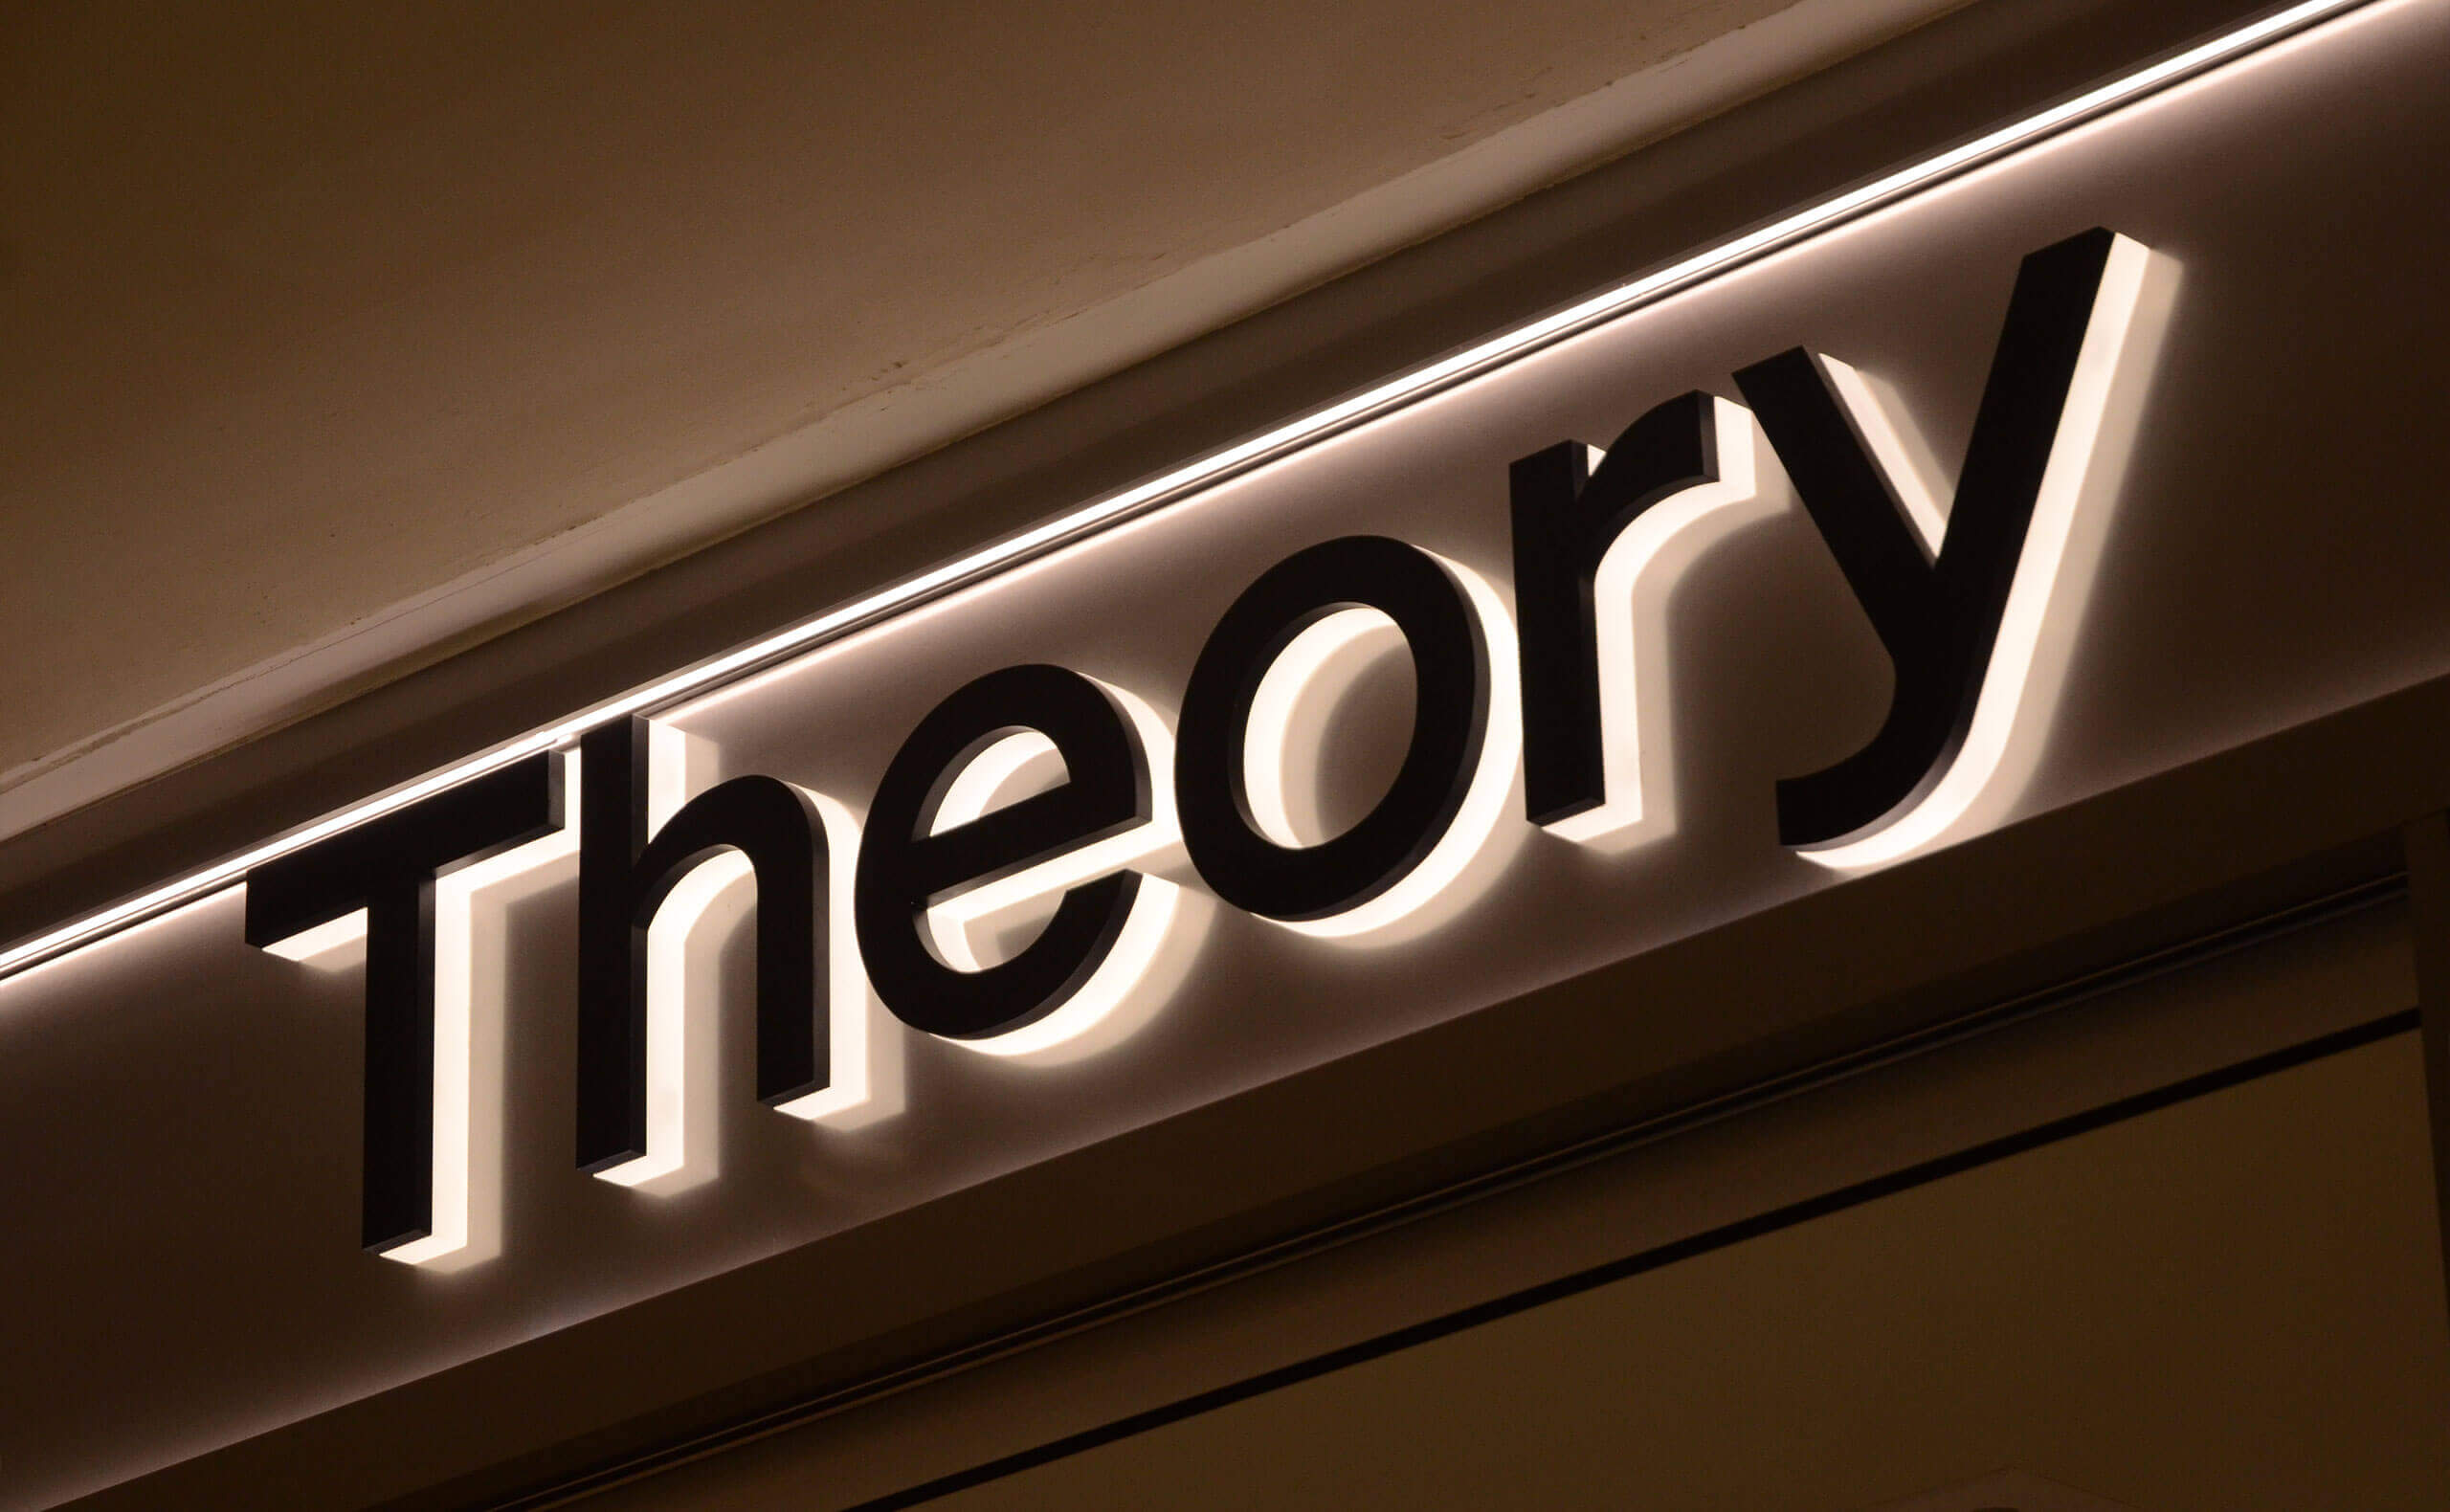
Image source: signsplaza.com
Combining the best of both worlds, front and back-lit channel letters offer a dynamic and attention-grabbing signage solution. The face, typically made of translucent acrylic, allows for front illumination, while the open back creates a halo effect.
This type caters to businesses seeking a versatile and impactful signage option that stands out both day and night.
4. Open face channel letters
Image source: tdhsigns.com
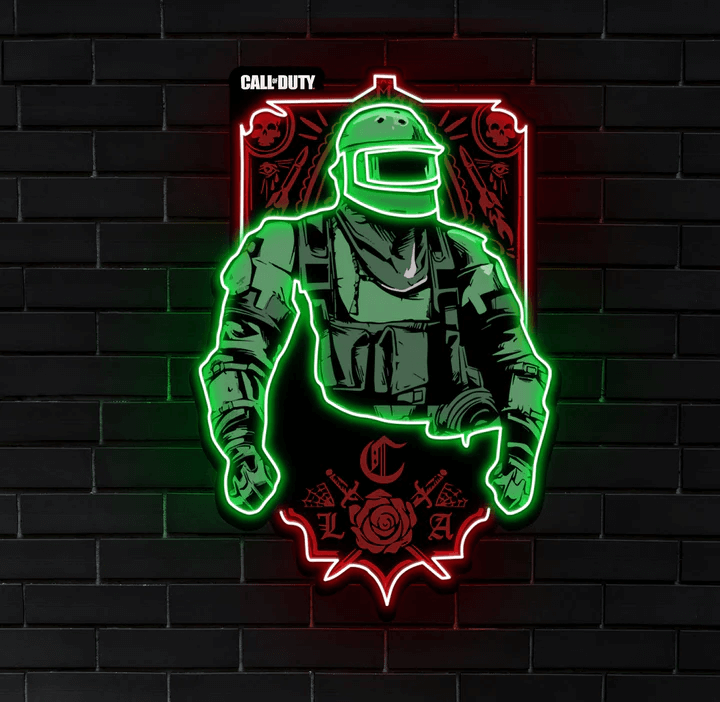
Open-face channel letters make a bold statement for those desiring a retro or vintage aesthetic. These letters showcase the raw beauty of neon or LED lights by featuring an exposed face with no acrylic covering.
This type not only adds a nostalgic touch to the signage but also allows for a distinctive visual impact, making it a preferred choice for businesses aiming for a distinctive and unconventional look.
5. Trimless (flush mount) channel letters

Image source: advancedmultisignstore.com
Trimless channel letters redefine the aesthetics of signage by eliminating visible trim or borders around each letter. The face seamlessly aligns with the building surface, presenting a clean and unbroken visual appeal.
This design choice not only provides a modern and sophisticated look but also ensures that the focus remains solely on the illuminated lettering.
6. Reverse pan channel letters
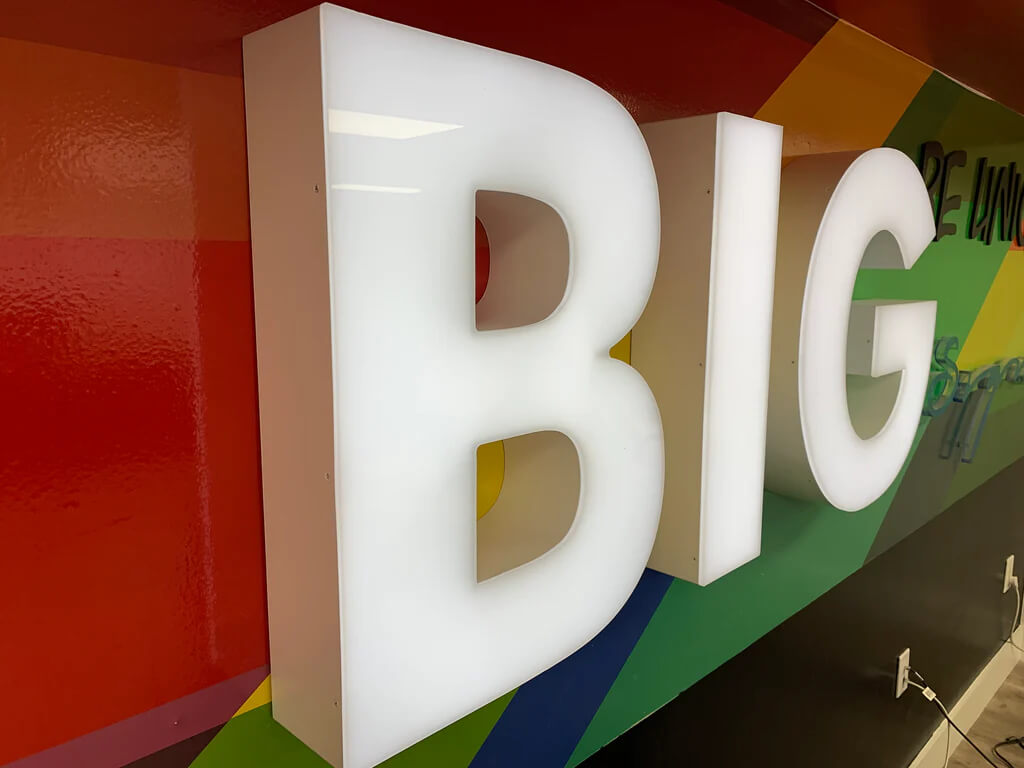
Image source: reversechannelletters.com
Reverse Pan channel letters introduce a distinctive structural element to signage. Characterized by a pan or box-like structure, these letters uniquely illuminate from the back.
The face, typically opaque, allows light to spill out, creating a captivating halo effect. This design choice adds depth and dimension to the signage, making it stand out, especially in low-light conditions.
7. Dual-layer channel letters
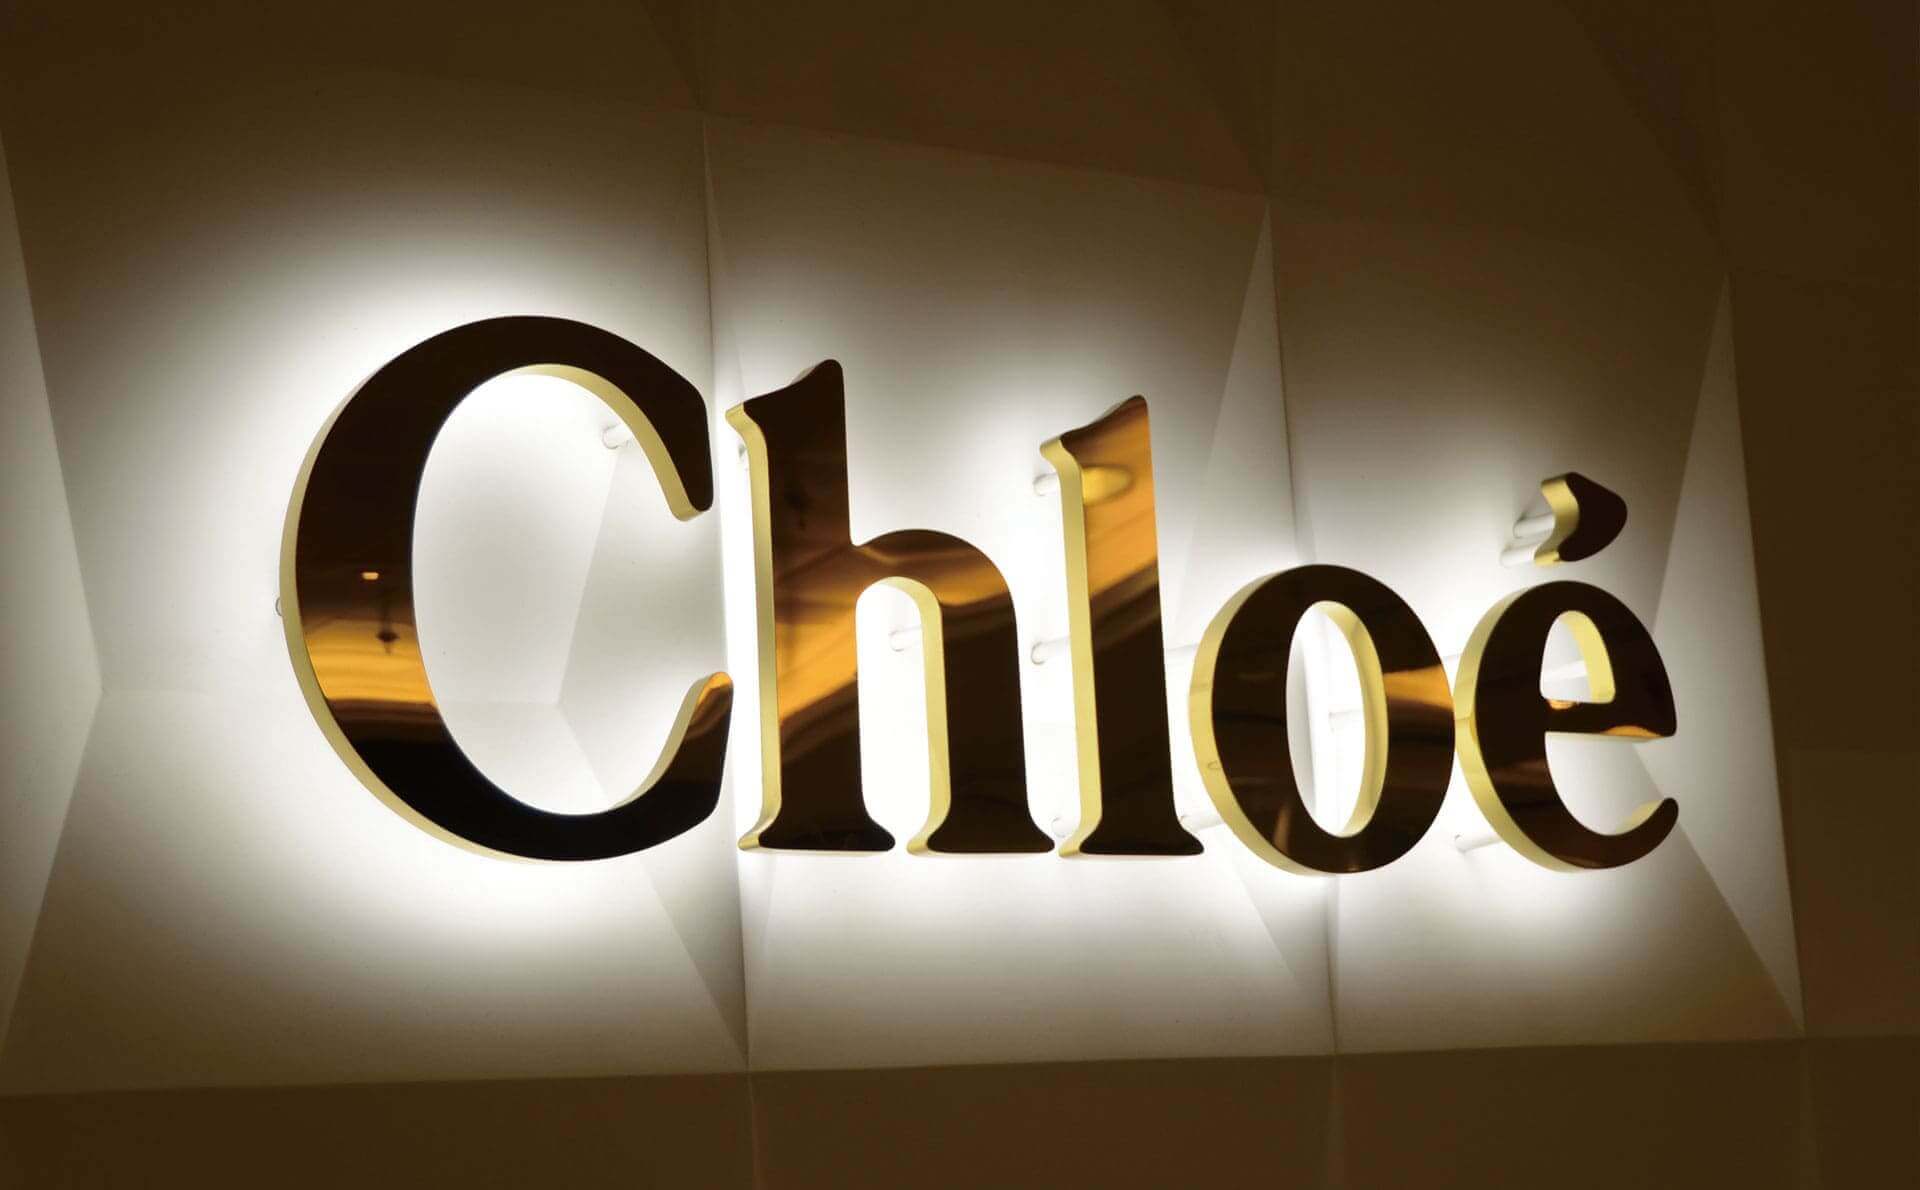
Image source: buysigns.shop
Dual-layer channel letters showcase an innovative approach to visual impact. They comprise two layers of acrylic, often with different colors. These letters achieve a striking contrast.
The front layer is precisely cut to reveal the back layer, resulting in a visually appealing and dynamic effect. This design option enhances visibility and offers a creative way to incorporate brand colors or create eye-catching signage that captures attention effectively.
How to make acrylic channel letter signs
Creating acrylic channel letter signs involves precise steps to ensure a professional and visually appealing outcome.
Before starting the process, gather the necessary materials and tools:
- **Acrylic sheets: **Choose high-quality acrylic sheets in the desired color and thickness.
- LED modules: Select LED modules for efficient and effective illumination.
- Channel letter bending machine: Invest in a bending machine for shaping the acrylic letters.
- Power supply: Ensure a reliable power supply for the LED modules.
- **Adhesive: **Use a strong adhesive to bond the acrylic letters and secure the LED modules.
Step 1: design and planning
- Begin by designing the layout of your acrylic channel letters. Consider the font, size, and spacing to achieve the desired visual impact. Plan the placement of LEDs for effective illumination.
Step 2: cutting acrylic
- Use the channel letter bending machine to cut the acrylic sheets into the desired letter shapes. Precision is crucial to ensure a seamless fit when assembling the letters.
Step 3: bending letters
- Utilize the bending machine to bend the cut acrylic letters into the desired 3D shapes. This step requires careful handling to maintain the integrity of the letters.
Step 4: creating backs and returns
- For certain types, such as reverse pan channel letters, create backs or returns to enclose the LED modules. This step enhances the halo effect by allowing light to spill out from the back.
Step 5: illumination installation
- Attach the LED modules to the inside of the acrylic letters. Ensure proper spacing and alignment for uniform illumination. Connect the LEDs to a reliable power supply.
Step 6: assembly
- Assemble the different components of the acrylic channel letters, ensuring a snug fit. Use a strong adhesive to bond the acrylic faces, backs, and returns securely.
Step 7: quality check
- Carefully inspect each acrylic channel letter for any imperfections or inconsistencies. Check the illumination to ensure even lighting throughout.
Step 8: installation
- Choose an appropriate mounting method for your acrylic channel letters. Whether flush mount, wall mount, or another option, ensure secure installation for longevity.
Step 9: final touches
- Make any necessary adjustments and perform final quality checks. Clean the acrylic surfaces and remove any protective film to reveal the finished product.

Installation considerations
Installing an acrylic channel letter sign requires precision and attention to detail. Ensure you have all necessary materials and tools, including the acrylic letters, mounting hardware, power drill, anchors, screws, silicone adhesive, and a level.
Step 1: site preparation
- Assess the location for optimal visibility and alignment. Consider factors such as height, visibility from different angles, and potential obstacles.
- Use a pencil or marker to mark the positions where each acrylic letter will be mounted. Ensure the letters are evenly spaced and aligned according to your design.
Step 2: mounting options
- Select the appropriate mounting method based on your preference and building structure – flush mount, raceway mount, or individual mounting.
- _Flush mounting:_In this method, letters are directly affixed to the building surface, creating a sleek and integrated appearance. Flush mounting is ideal for a modern, minimalist look, enhancing the overall aesthetic appeal.
- Raceway mounting: Raceways are metal boxes that house the electrical components and wiring. Acrylic channel letters are mounted on the raceway, providing a streamlined and organized solution. This method simplifies maintenance and is often preferred for larger signage installations.
- Individual mounting: Each letter is mounted separately, allowing for flexibility in design and spacing. Individual mounting provides a distinct, eye-catching effect and is suitable for businesses aiming for a more dynamic and personalized visual presence.
- Attach the mounting hardware securely to the building surface if using a raceway or flush mount. For individual mounting, affix mounting brackets to the back of each letter.
Step 3: wiring and electrical
- Plan the route for wiring, ensuring it is discrete and hidden. Drill holes for wiring if necessary, keeping in mind the electrical requirements of the signage.
- Connect the wiring according to the design, ensuring a secure and weather-resistant connection. Follow proper electrical safety guidelines.
Step 4: letter installation
- Apply silicone adhesive generously on the back of each letter, ensuring even coverage.
- Carefully position each acrylic letter on its designated spot, pressing firmly to adhere it to the mounting surface. Use a level to maintain a straight alignment.
Step 5: final adjustments
- Verify that each letter is level and aligned according to your markings. Make any necessary adjustments before the adhesive fully sets.
- If using an individual mounting, secure each letter with screws through the mounting brackets. Wipe away excess adhesive and ensure a clean finish.
Step 6: electrical testing
- Before completing the installation, test the illumination of each letter to ensure all LED lights are functioning correctly.
Maintenance and cleaning tips
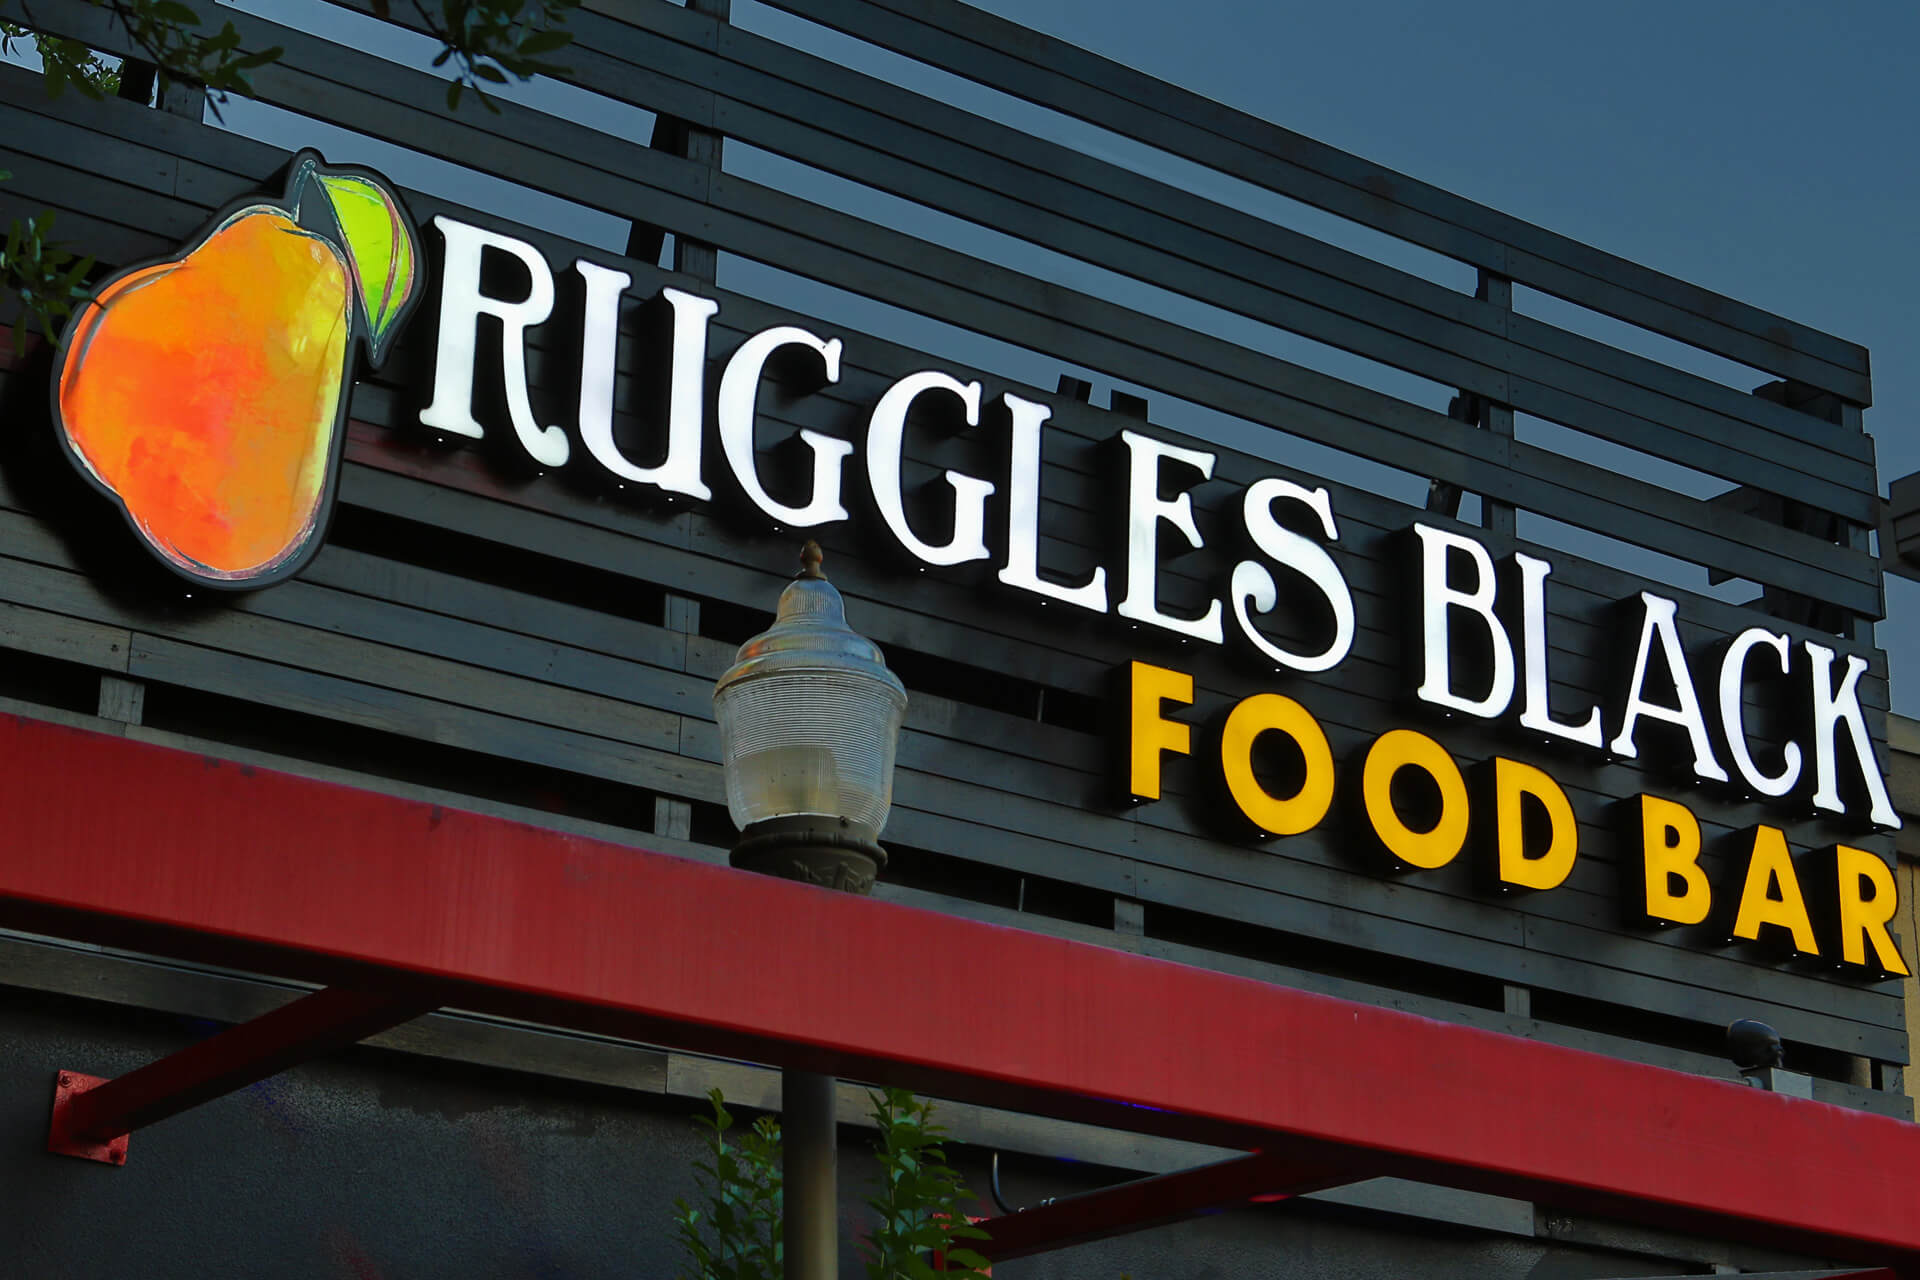
Image source: ariasigns.com
Maintaining acrylic channel letters is crucial to ensure their longevity, visibility, and overall effectiveness. Here are some tips for proper maintenance:
Gentle cleaning solutions
Use mild, non-abrasive cleaning solutions and a soft cloth to clean the acrylic surfaces. Avoid harsh chemicals that can damage the material or the lighting components.
Avoid pressure washing
Refrain from using high-pressure washers, as they can damage the acrylic and compromise the integrity of the letters. Opt for gentle cleaning methods to prevent scratches or cracks.
Regular inspections
Conduct regular visual inspections to check for any signs of damage, discoloration, or malfunctioning lights. Early detection allows for timely repairs and prevents more extensive issues.
Address electrical issues promptly
If you notice any flickering lights or sections not illuminating, address the electrical issues promptly. This may involve checking wiring connections or replacing malfunctioning LED modules.
Seal exposed edges
If your acrylic channel letters have exposed edges, adequately seal them to prevent water infiltration. This is particularly important for outdoor signage exposed to the elements.
Weather-resistant materials
Consider using weather-resistant materials, such as silicone sealant and corrosion-resistant hardware, during the initial installation. This enhances the signage’s durability against varying weather conditions.
Scheduled professional inspections
Arrange for periodic professional inspections to assess the overall condition of the acrylic channel letters. Professionals can identify potential issues and perform preventive maintenance.
Professional cleaning services
For larger or hard-to-reach signs, consider professional cleaning services. They have the expertise and equipment to clean signage effectively without causing damage.
Anti-graffiti coatings
Consider applying anti-graffiti coatings on the acrylic surface in areas prone to vandalism. These coatings make it easier to remove graffiti without damaging the signage.
Adjustments for changing seasons
Be mindful of seasonal changes and adjust the illumination settings if necessary. For example, brighter settings during darker winter months may enhance visibility.
Snow and ice removal
Be cautious when removing snow or ice around the signage in snowy regions to avoid causing damage. Use gentle methods and avoid scraping the acrylic.
Trending ideas for acrylic channel letters
#1. Neon-inspired led signs
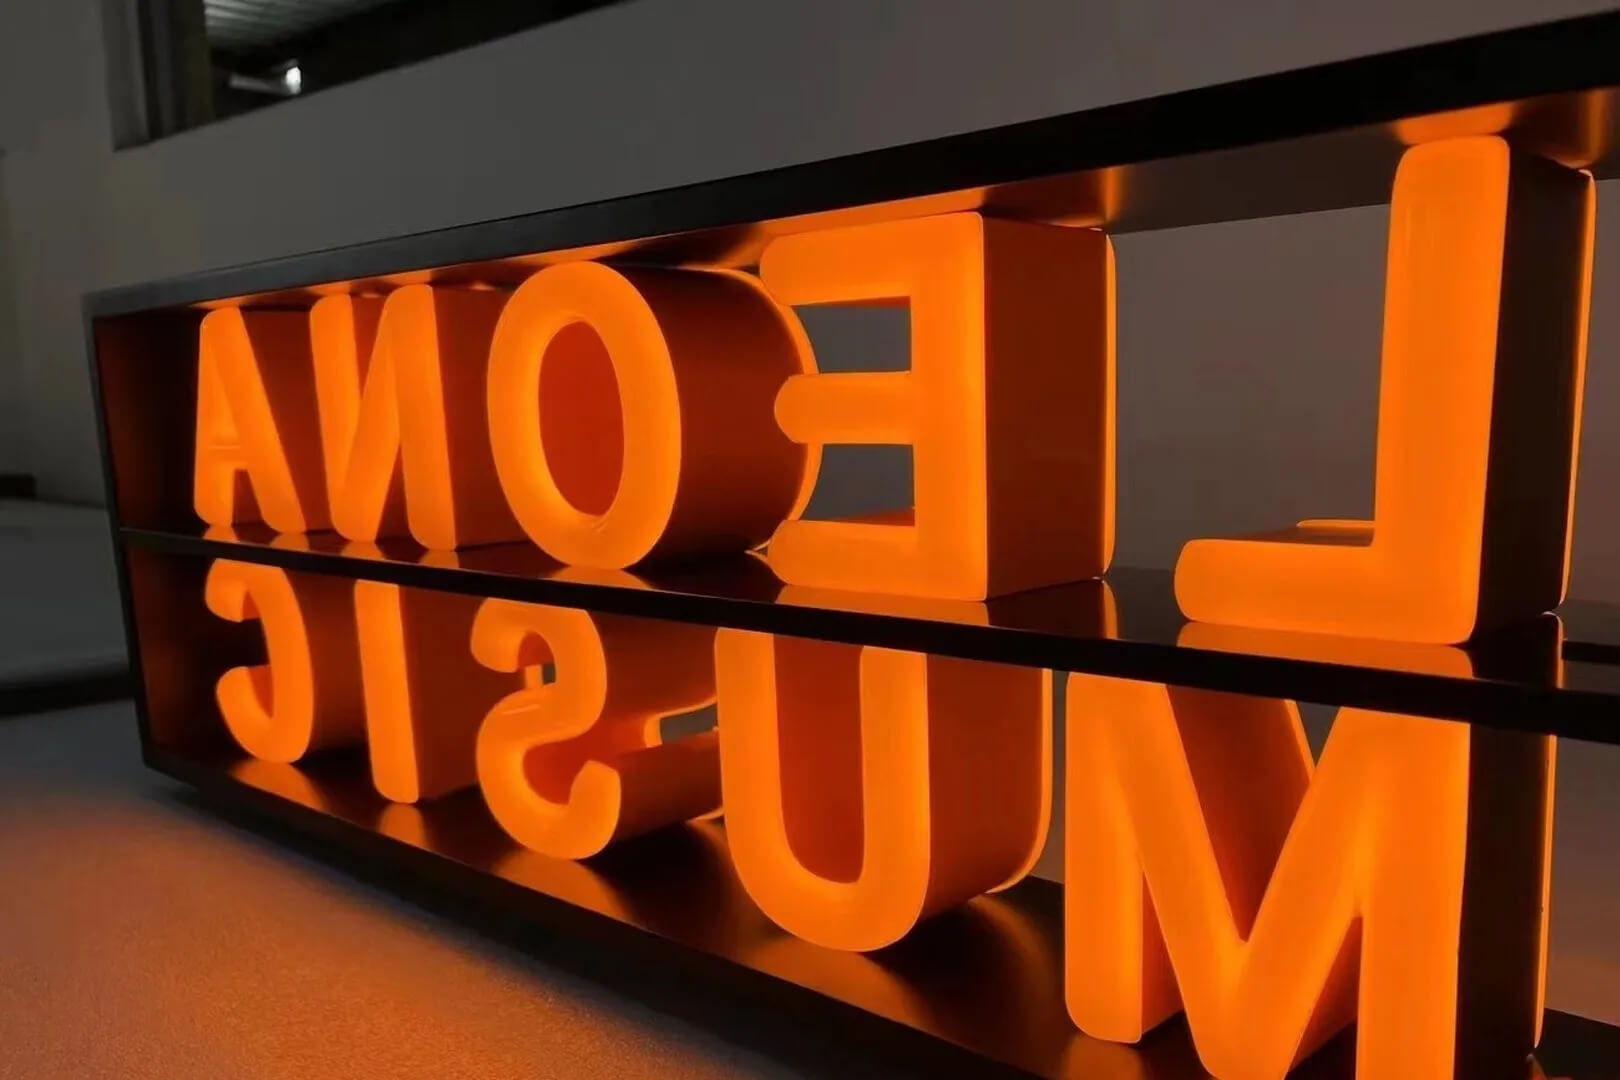
Image source: lindosignage.com
Create a modern twist on the classic neon sign by using vibrant LED lights in acrylic channel letters. This trend combines nostalgia with energy-efficient technology, resulting in eye-catching and dynamic signage.
#2. Gradient color effects
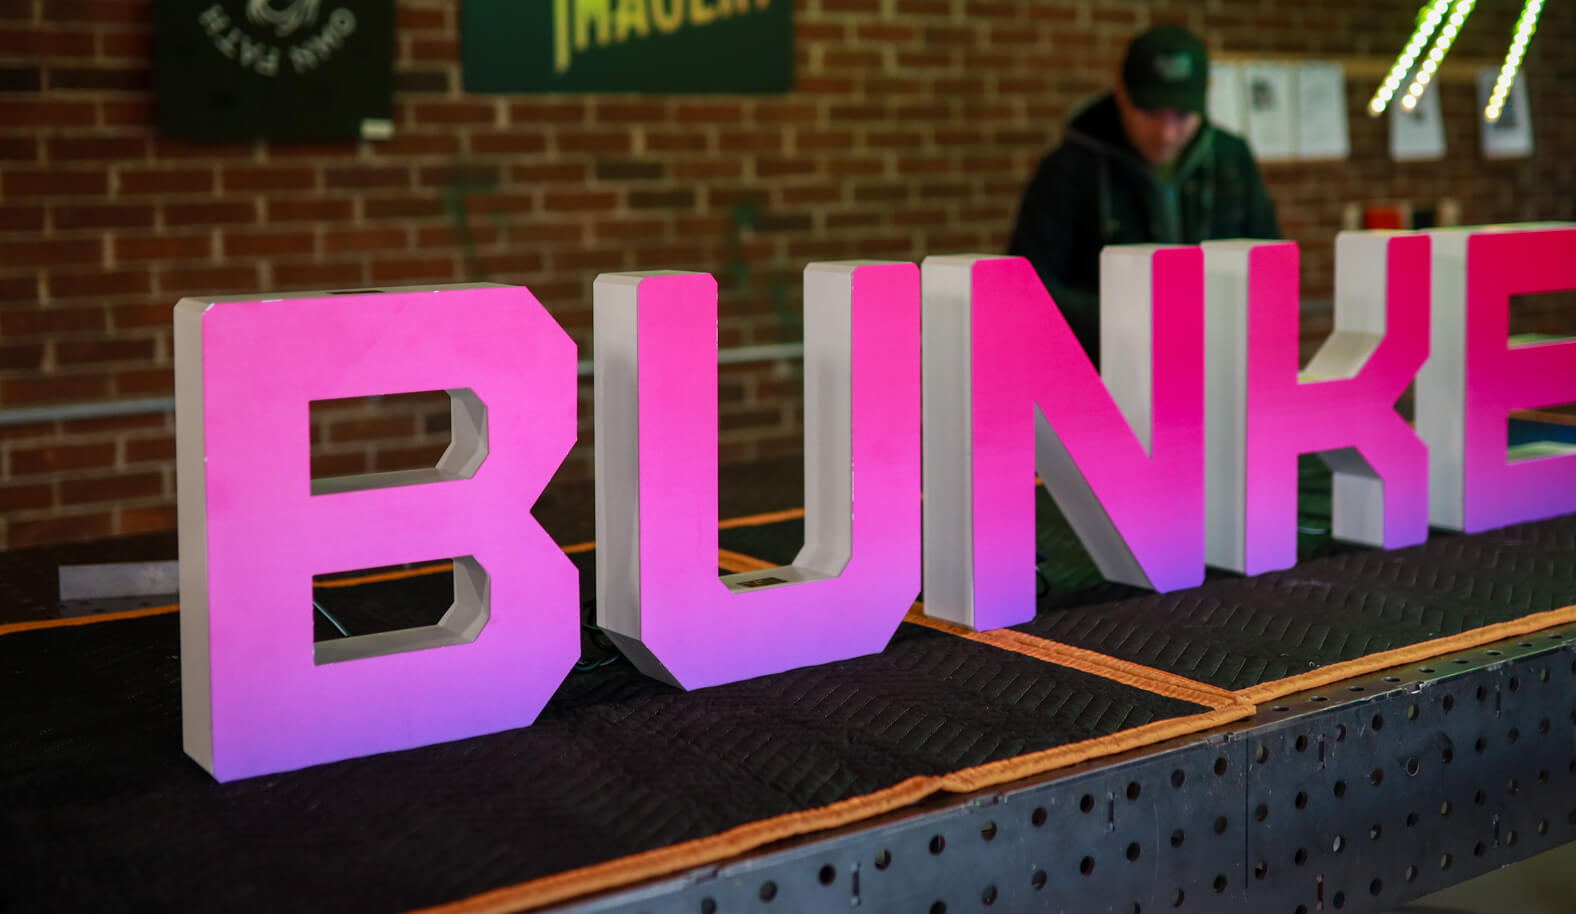
Image source: michiganimagery.com
Incorporate gradient color effects within the acrylic letters for a visually striking and contemporary look. Transitioning colors within the letters can add depth and dimension to the signage.
#3. Geometric shapes and patterns

Image source: thesignchef.com
Experiment with geometric shapes and intricate patterns within the acrylic channel letters. This trend adds a modern and artistic touch, making the signage stand out as a unique visual focal point.
#4. Backlit 3d logos
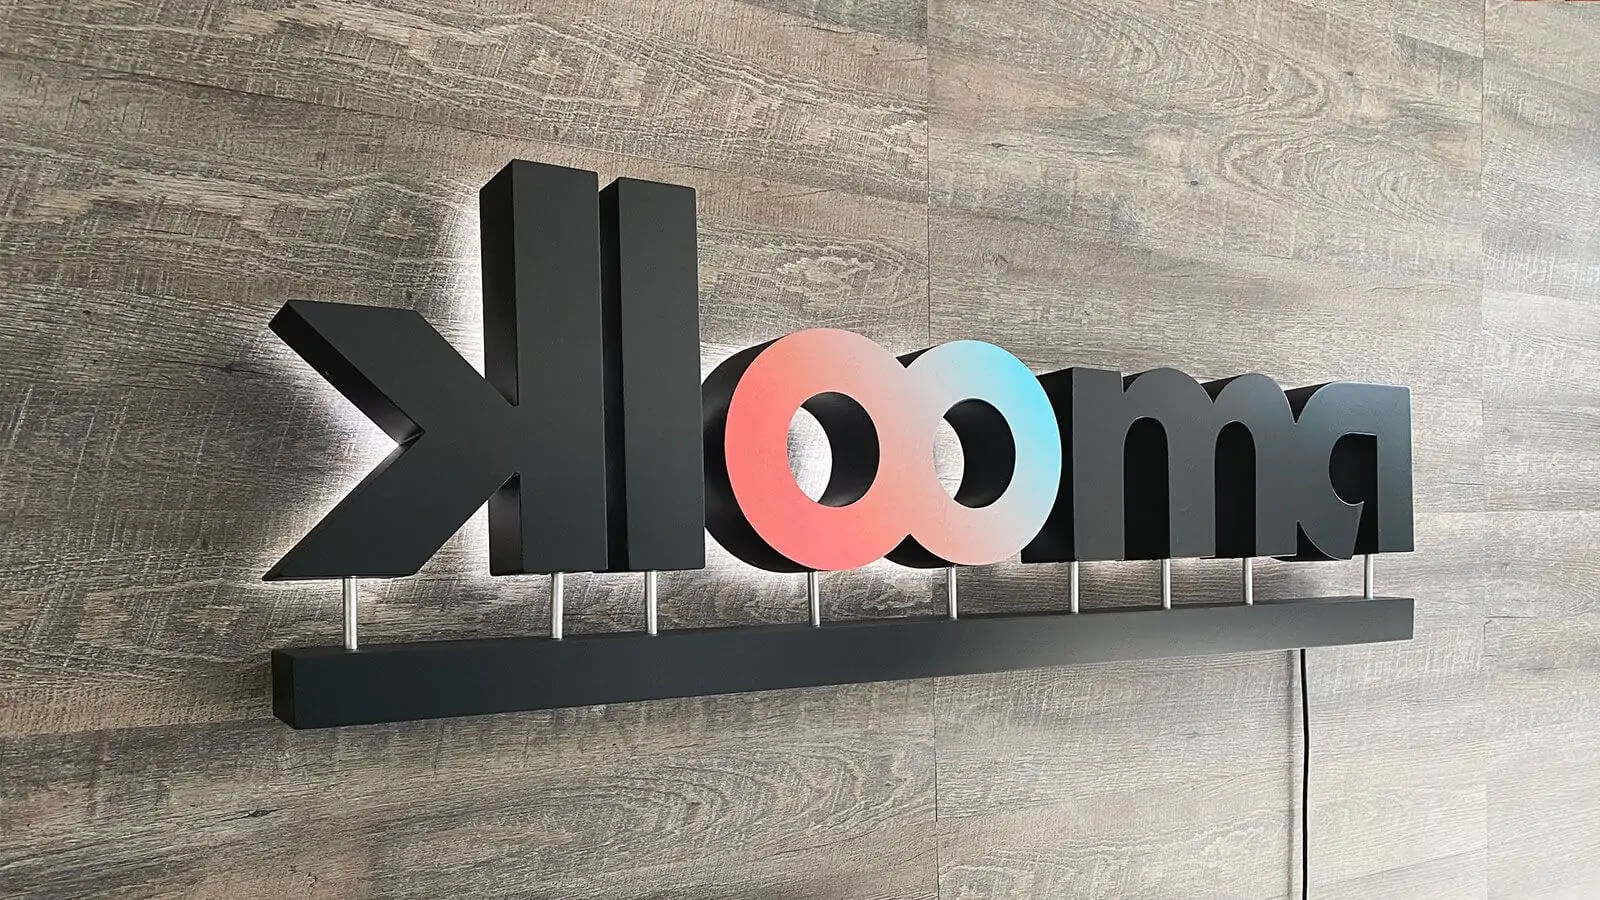
Image source: frontsigns.com
Opt for backlit 3D logos that create a halo effect around the letters. This technique adds a sense of depth and sophistication, making the signage visually appealing both day and night.
#5. Mixed materials and textures
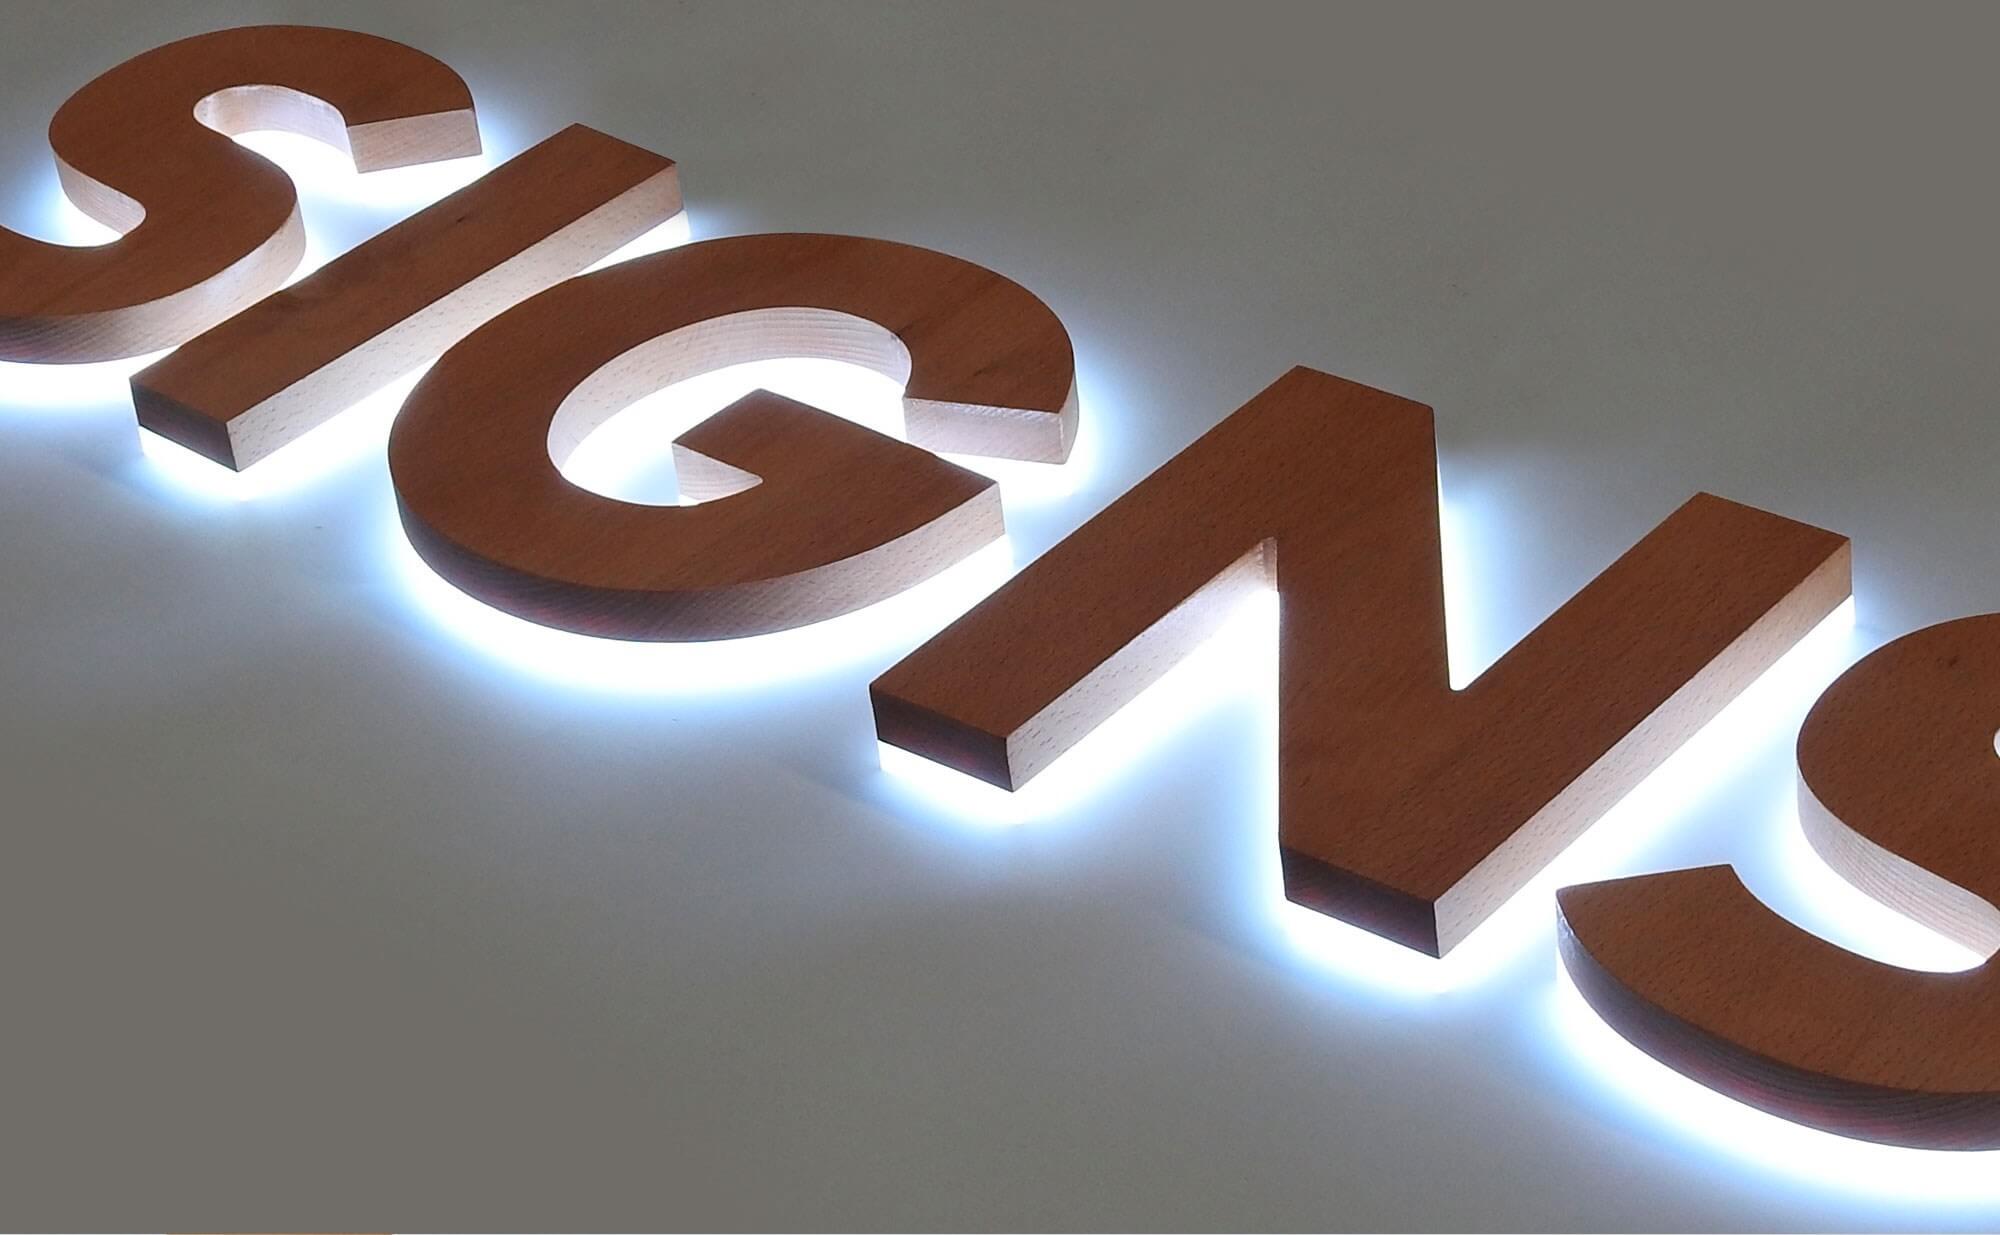
Image source: signsplaza.com
Combine acrylic with other materials like metal, glass, or wood to create a multi-dimensional and textured effect. This trend enhances the overall aesthetic and creates a customized and unique appearance.
#6. Custom typography
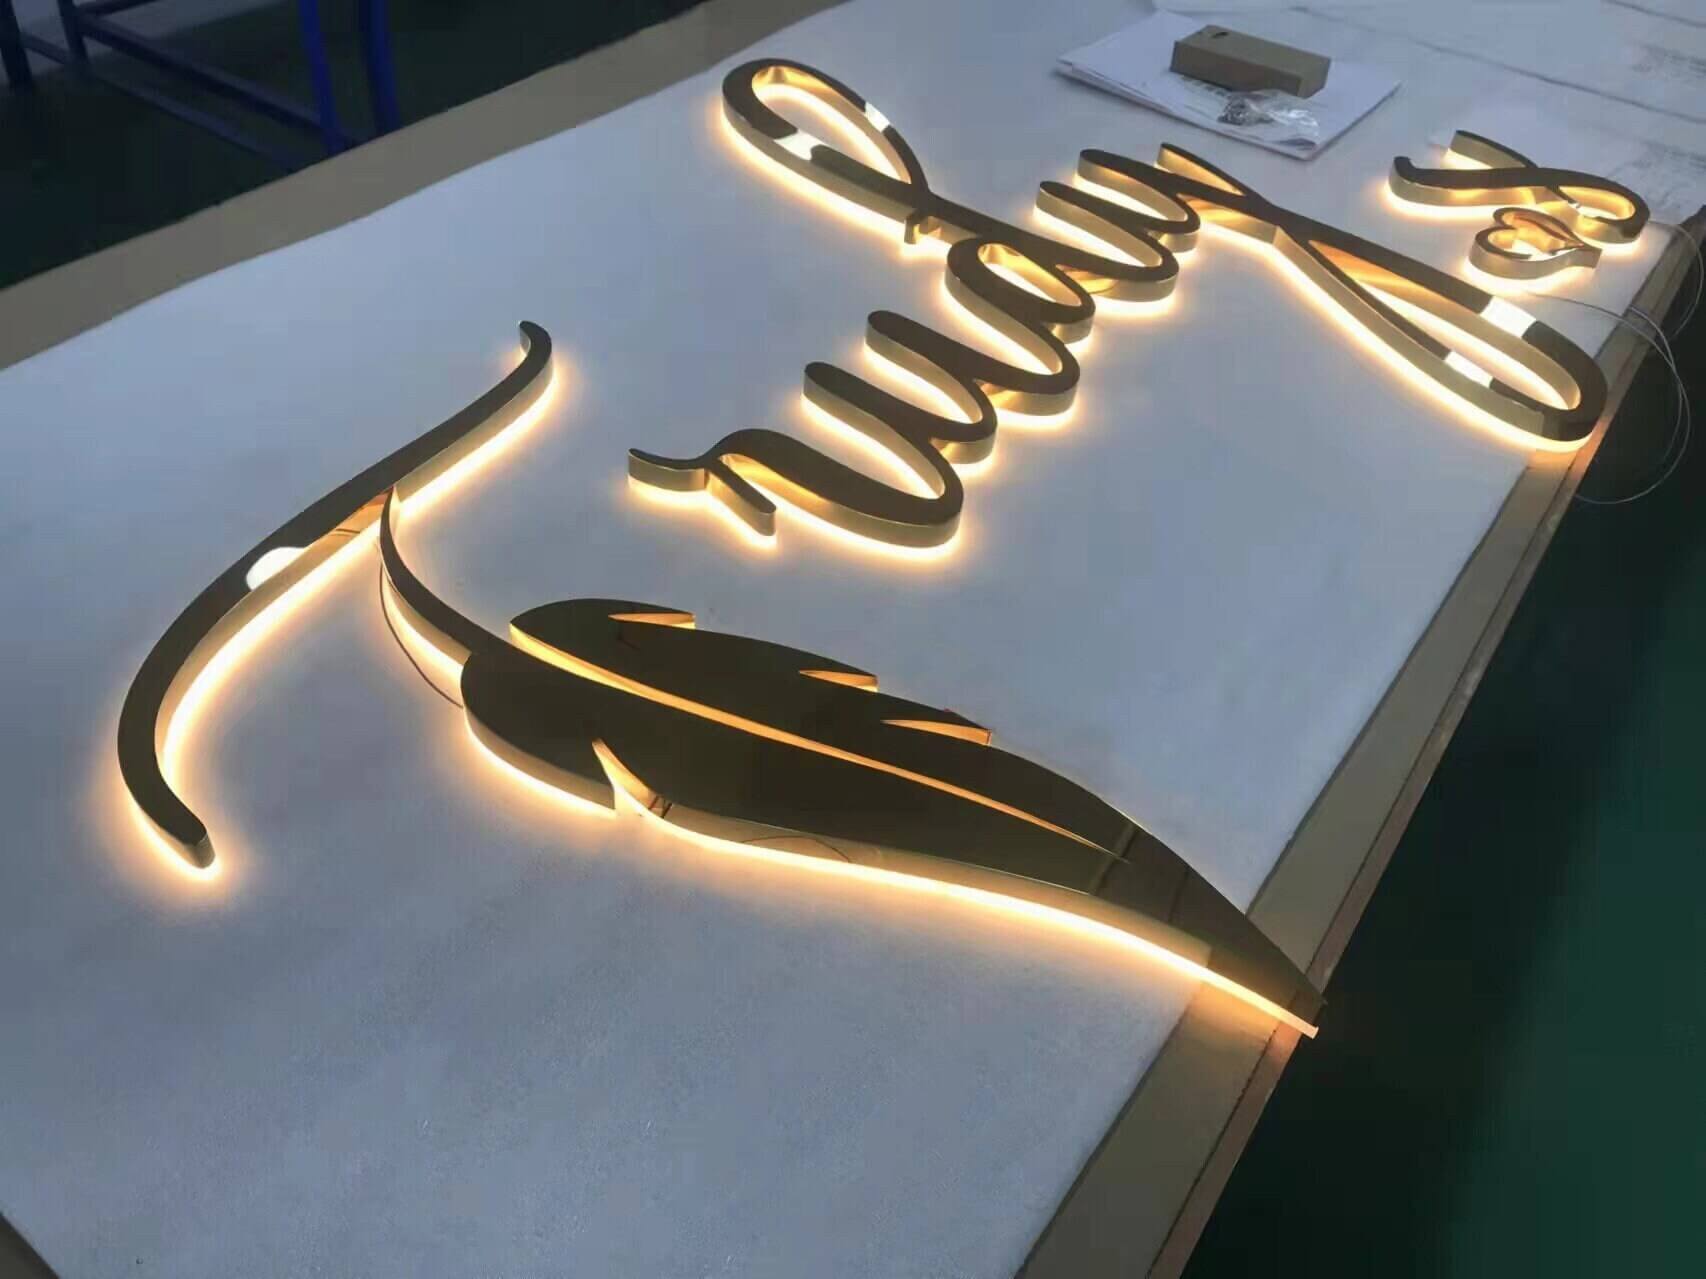
Image source: etsy.com
Embrace custom typography that reflects the brand’s personality. Unique and stylized fonts add character to the signage, contributing to brand identity and recognition.
#7. Floating letters
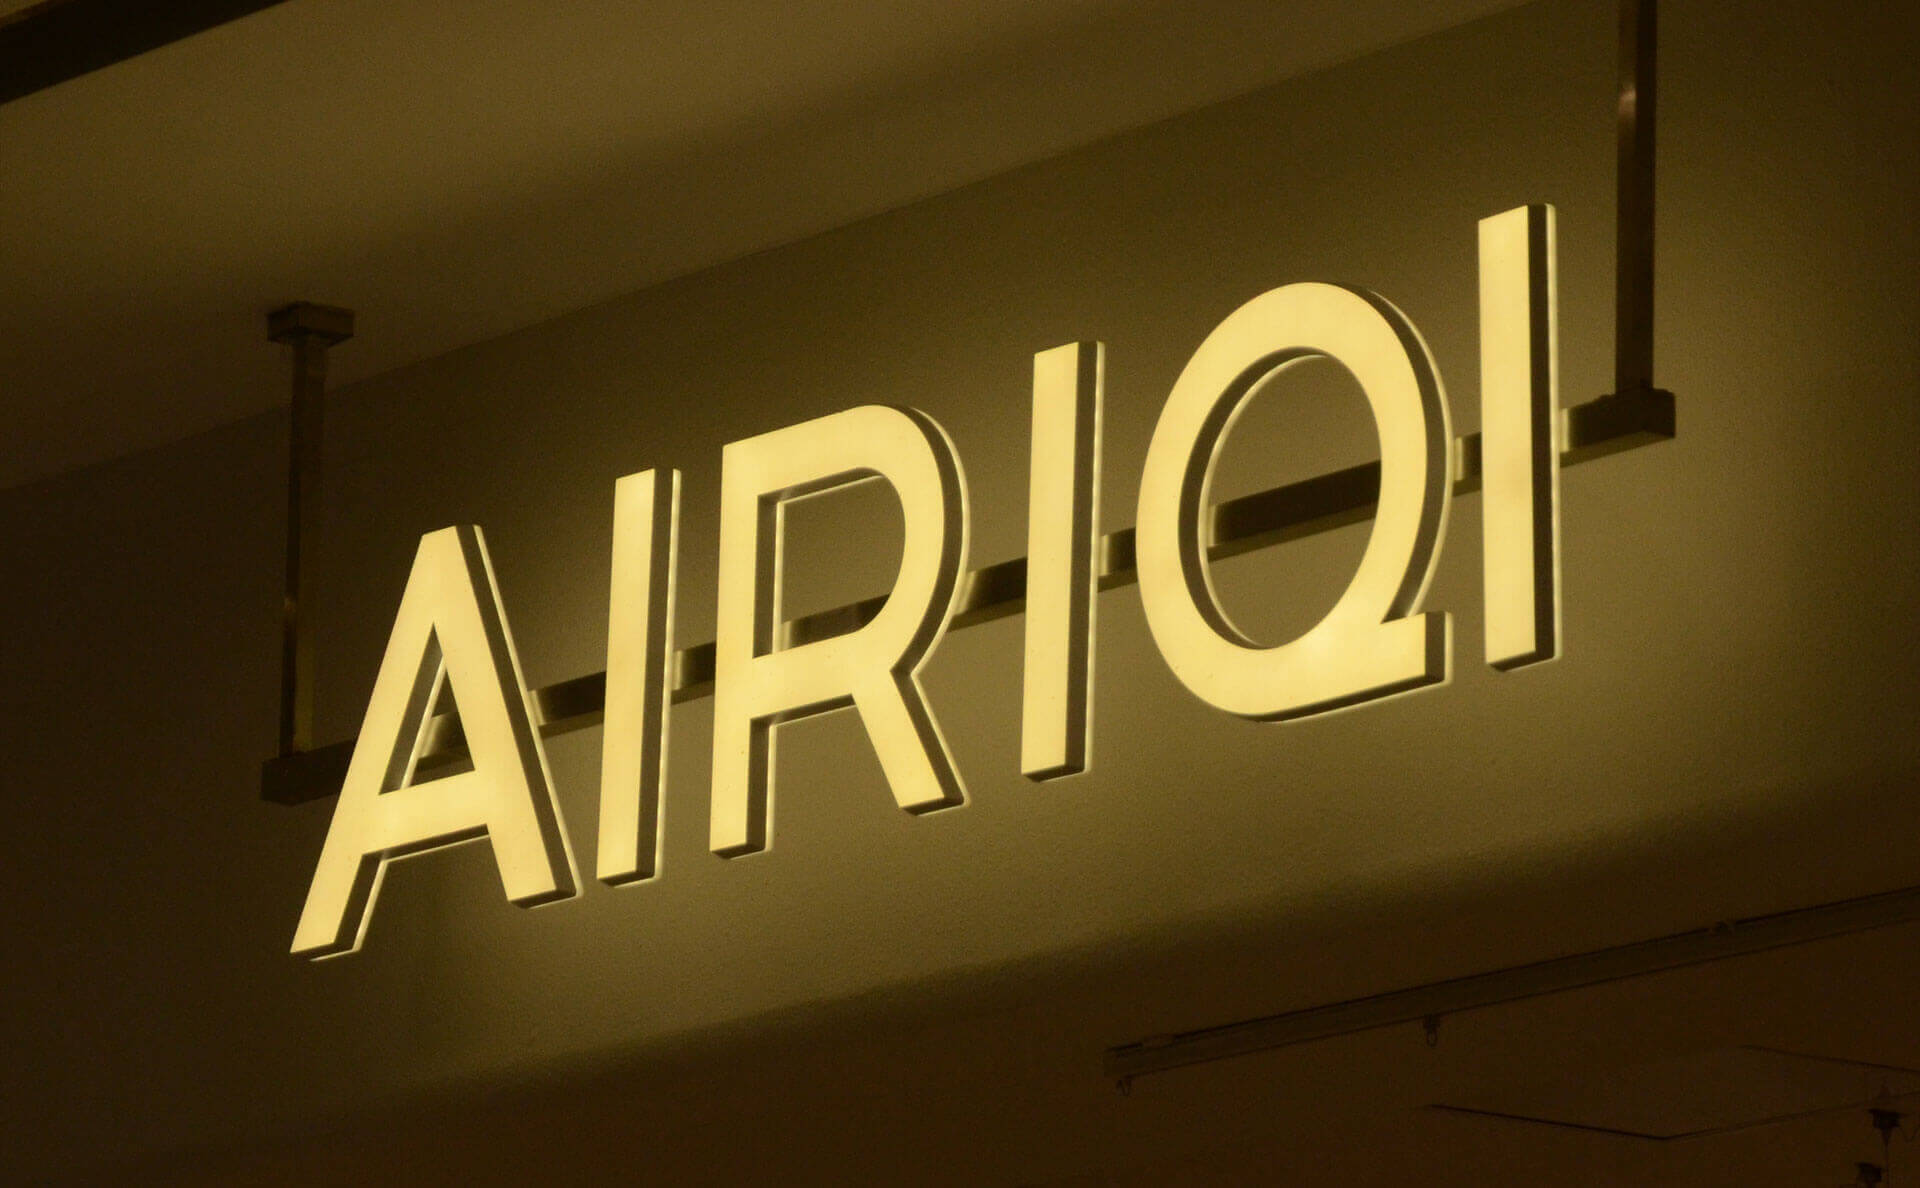
Image source: businesssigns.net
Design acrylic channel letters that appear to float in mid-air by incorporating hidden mounting mechanisms. This minimalist and sleek approach creates a modern and sophisticated look.
#8. Negative space lettering
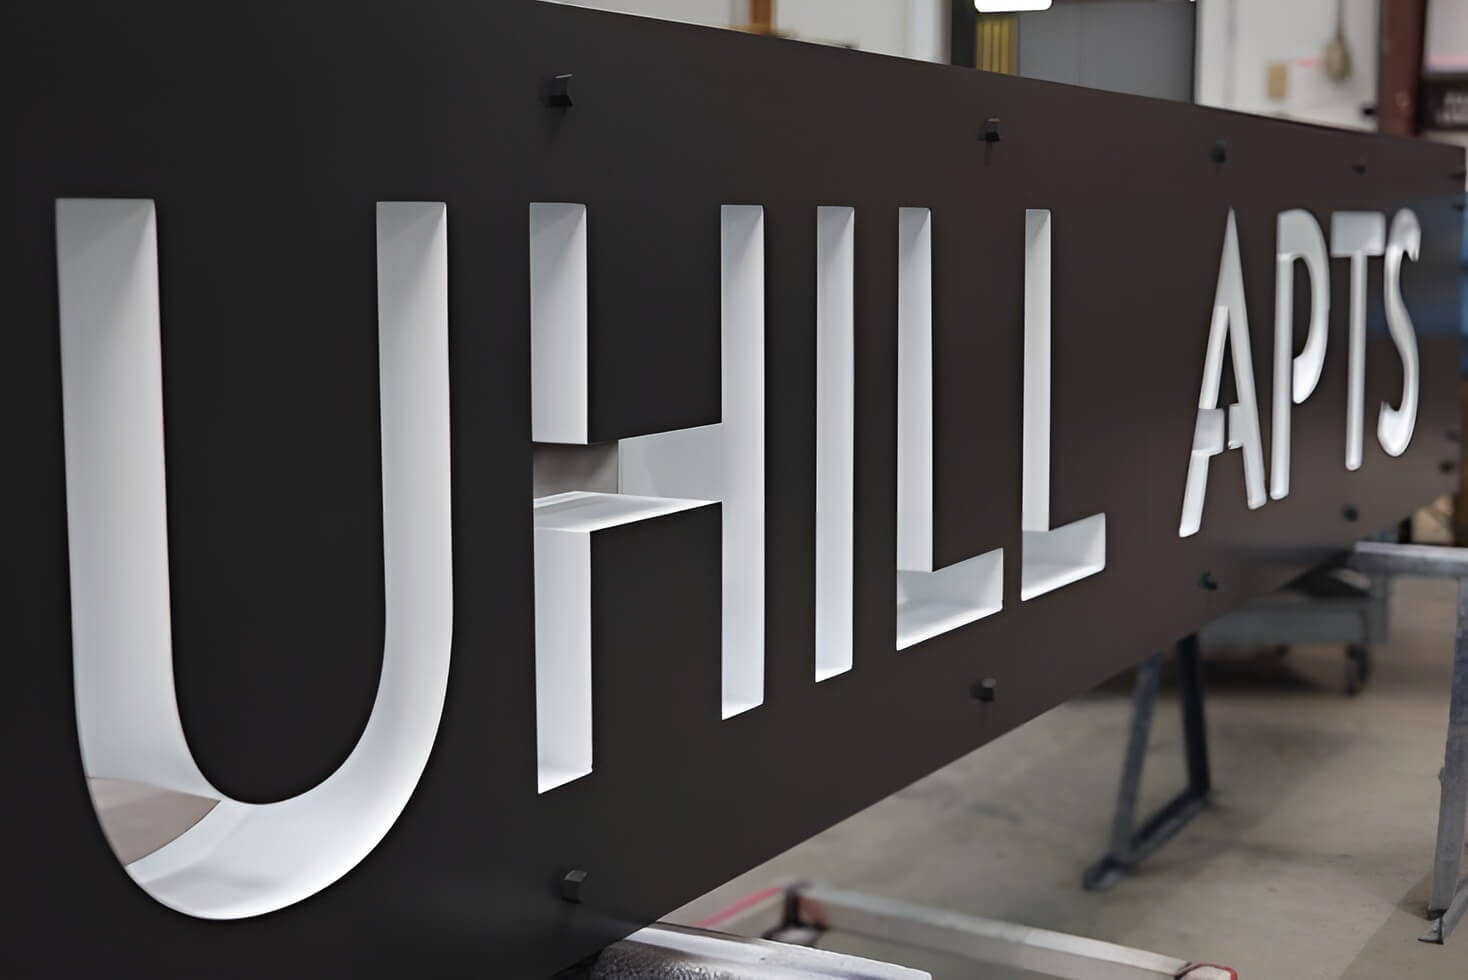
Image source: etsy.com
Explore negative space within the letters, where the acrylic surrounds empty spaces. This trend plays with perception, creating visually interesting and contemporary signage.
FAQs about acrylic channel letters
What material is channel lettering?
Channel lettering is commonly made from materials like acrylic, aluminum, or a combination of both. Acrylic is often used for the faces, while aluminum forms the sides or returns.
What is the difference between channel letters and dimensional letters?
While both are three-dimensional, dimensional letters are solid, individual letters without internal illumination. Channel letters, on the other hand, are hollow and internally lit, providing a more prominent and illuminated signage option.
What are the different types of channel letters?
Various types include front-lit, back-lit (halo-lit), front and back-lit, open face, trimless, reverse pan, and dual-layer channel letters. Each type offers distinct visual effects and applications.
Are channel letters always illuminated?
Yes, channel letters are typically illuminated. The illumination can come from the front (front-lit), the back (back-lit), or both, depending on the specific type of channel letter.
How thin can channel letters be?
Channel letters can vary in thickness, but the minimum thickness often depends on the chosen materials and the type of illumination used. Generally, they can be as thin as 3 to 5 inches.
What is the difference between channel letters and reverse channel letters?
Channel letters are hollow, with the light source inside illuminating the front. Reverse channel letters have an opaque face and emit light from the back, creating a halo effect around the letters.
What are backlit channel letters?
Backlit channel letters, also known as halo-lit letters, have illumination coming from behind the letters, creating a subtle and visually appealing halo effect around the letters.
How are channel letters attached?
Channel letters are typically attached to a raceway, directly mounted flush to the building, or individually mounted. The choice depends on factors like aesthetics, building structure, and local regulations.
How big should channel letters be?
The size of channel letters depends on factors such as viewing distance, surrounding environment, and local regulations. Generally, letters should be large enough for clear visibility and readability.
How deep is a channel letter?
The depth of channel letters varies based on design and illumination requirements. Standard depths range from 3 to 5 inches, but this can be adjusted for specific needs.
How much does a channel letter weigh?
The weight of a channel letter depends on its size, the materials used, and the type of illumination. On average, a medium-sized channel letter may weigh around 10 to 20 pounds.
What is the minimum stroke for channel letters?
Channel letters’ minimum stroke width depends on the font and letter size. Generally, a stroke width of at least 1 to 1.5 inches is recommended for optimal visibility and fabrication.